Your boss sends you an email asking for a copy of every message a specific client has sent you. Sounds like a huge task, doesn’t it?
Until recently, the only way to forward emails was to go to each one and click the forward button and then send. but luckily gmail now lets you set filters that can help you accomplish the same task in a fraction of the time.
why forward multiple emails in gmail?
There are many situations where bulk email forwarding may be appropriate. here are some examples:
1. You’ve finished working on a project and need to turn all your correspondence over to a colleague.
2. You are leaving your job and need to forward several emails to your successor or manager.
3. You want to forward all receipts you receive from a supplier to your finance department.
4. You’re planning to take an extended leave of absence and want your replacement to receive all the messages your clients send you.
Your options for bulk forwarding in gmail boil down to whether you want to forward existing emails in your inbox or forward future messages that meet designated criteria to others.
how to manually forward multiple emails in gmail [step by step]
Unfortunately, if you want to go back to bulk forwarding of existing emails in your inbox, you have to do it manually.
step 1. select the emails you want to forward.
step 2. right click on them and scroll to forward.
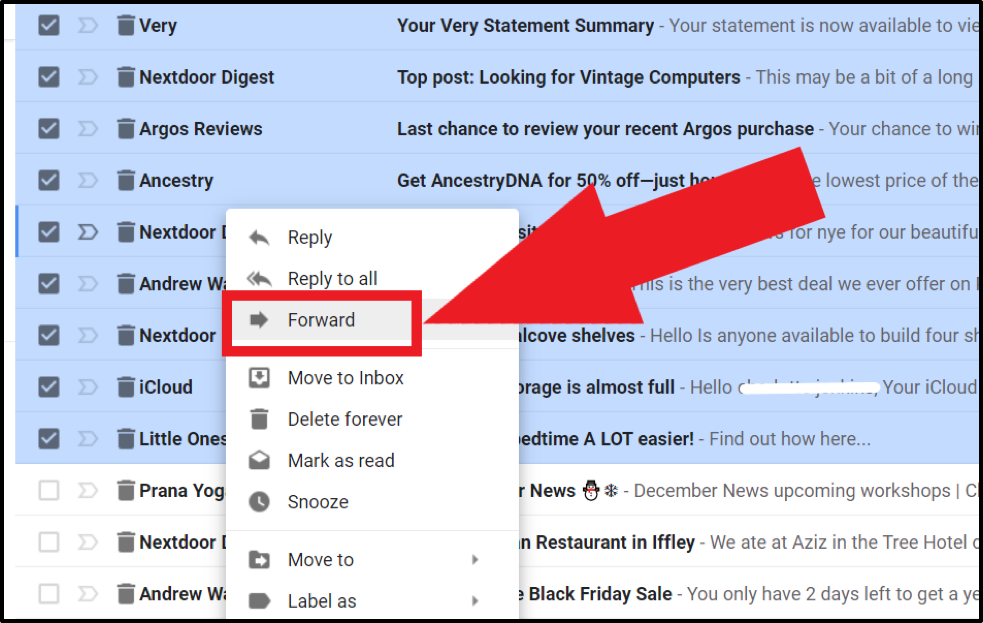
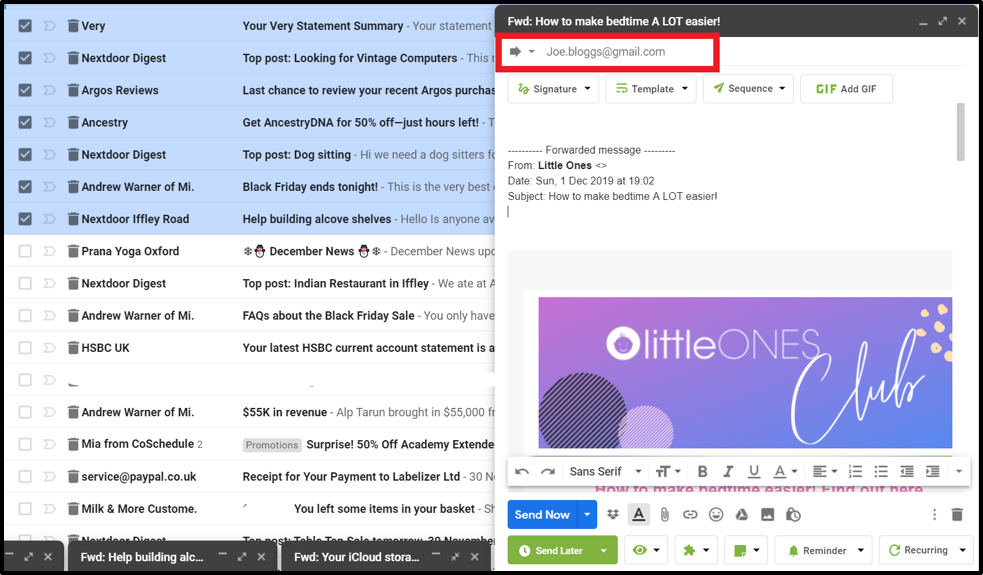
step 3. each message will now open in your gmail board.
Step 4. For each email, enter the forwarding address and click send.
 ADD_THIS_TEXT
how to do multiple forwarding in gmail using filters [step by step]
On the other hand, if you want to forward future messages in bulk, you can do it automatically using filters. First, you need to set up your forwarding address (the email you will forward multiple emails to):
step 1. log in to your gmail account.
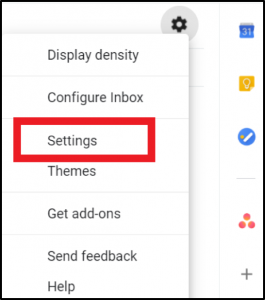
Step 2. Click the gear icon at the top right of the gmail panel.
step 3. click settingsin the dropdown menu.
step 4. go to the forwarding and pop/imap tab.
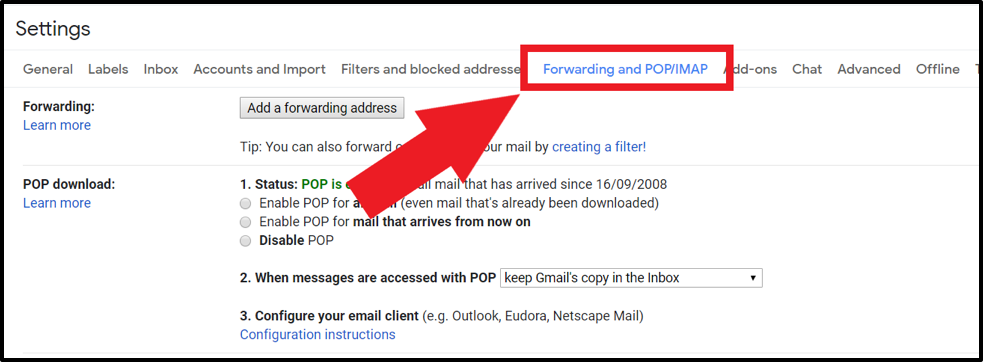
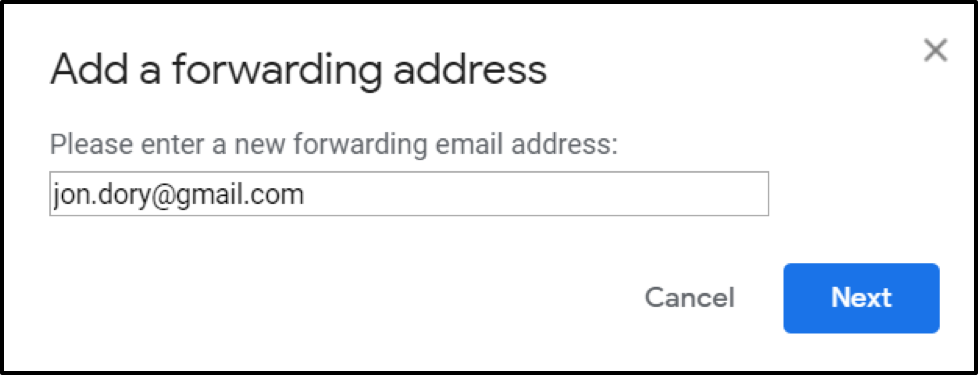
step 5. click add a forwarding address.
Step 6. Enter the forwarding recipient’s email address and click next.
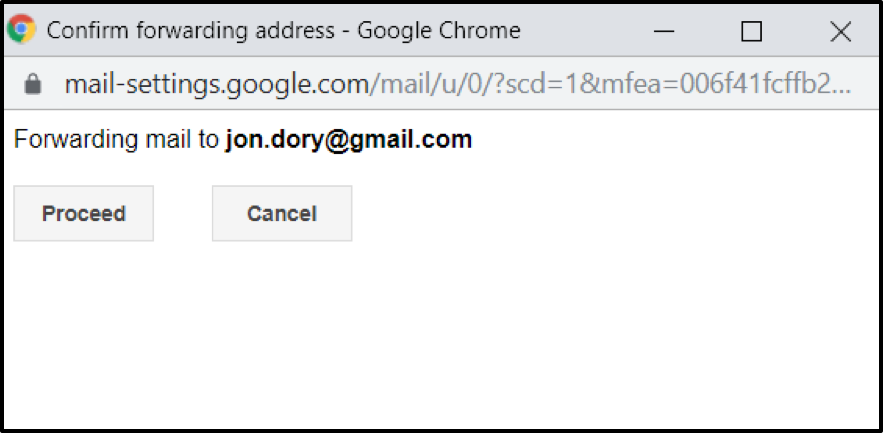
step 7. a confirmation popup will appear. verify the email address and click continue
Step 8. A popup will appear to notify you that a confirmation code has been sent to the forwarding recipient. to accept, click ok.
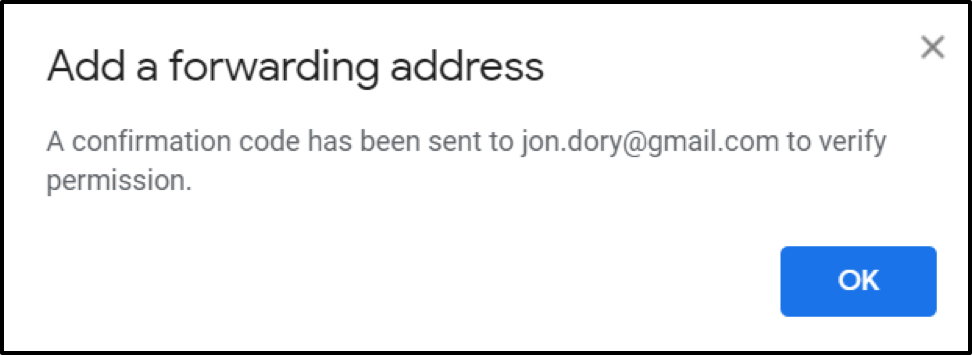
Step 9. You will need to enter this confirmation code to verify the forwarding address.

now, you can configure your filter:
step 10. return to settings.
step 11. navigate to the filters and blocked addresses tab.
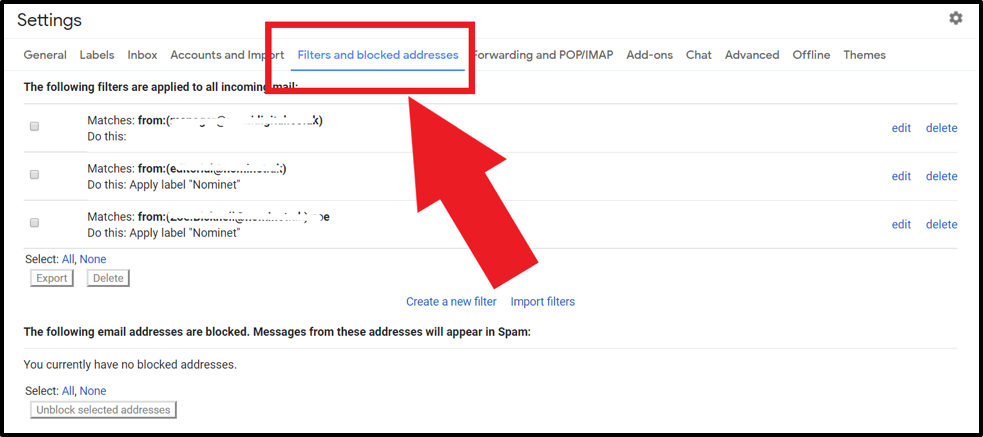
step 12. click create new filter.
step 13. enter the search criteria for the emails you want to forward. in this example, we have used the from email address.
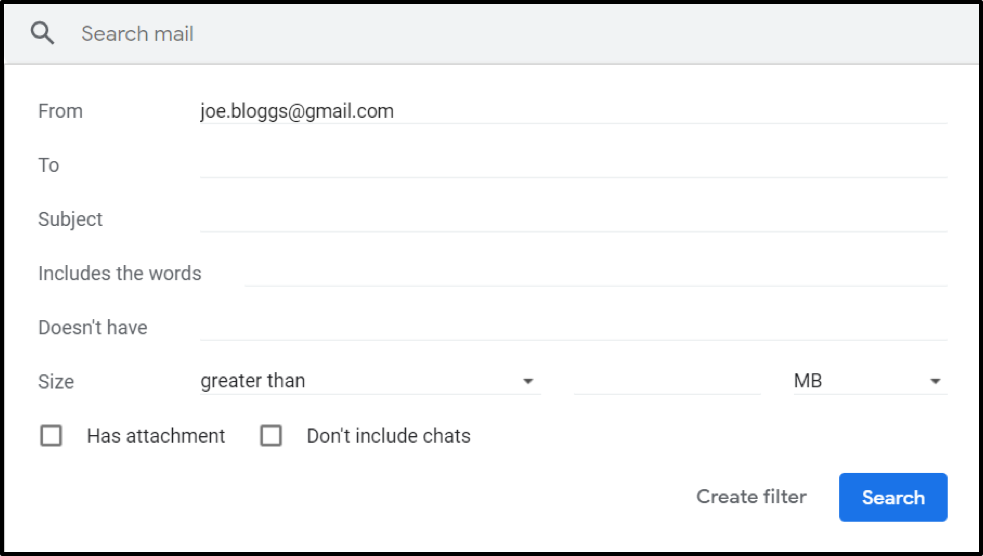
step 14. click create filter
step 15. check the forward box and select the forwarding email address you have configured.
step 16. click create filter.
Your new recipient will start receiving all emails that match the search criteria of the filter you set up. however, a word of warning: filter settings are not foolproof. It’s still better to test if messages are being forwarded correctly and check your inbox from time to time.
using the right inbox to optimize your emails
the right inbox can make your email life easier with several easy-to-use features that you can’t enjoy with standard gmail, like:
- reminders: Choose the best time to receive reminders for key emails or conversations. that way you never miss an opportunity.
- private notes – Create notes for any email that only you can see and edit. this keeps your email tidy, without bothering your recipients with notes that may not be relevant to them.
- Signatures – Create multiple beautiful and professional email signatures. select the one you want for each email list, recipient or conversation with a few clicks. create your own from scratch and reuse them as templates to save time.
- sequences: You want to be aware of a recipient who doesn’t respond to your email or make the desired decision. action after reading it? create follow-up sequences in advance and automate when they’re sent based on recipient behavior.
- embedded gifs – Add some fun and engagement to your emails with animated gifs. insert your most effective gifs with just one click.