mail merge is a very useful feature in microsoft word that allows us to create multiple documents , like cards and envelopes at the same time, simply by using a main document and a distribution list that we have created. in this way, we save a lot of time and effort by repeatedly typing the same letter. In my previous posts, I described how to use mail merge with the ribbon and with the help of the step-by-step wizard . In this post, I will describe how to use mail combine for envelopes. all we’ll need is a mailing list list. just keep reading the post below.

The whole procedure seems hard, difficult and long. but once you get the hang of it, you’ll find it nice and easy. just remember these steps.

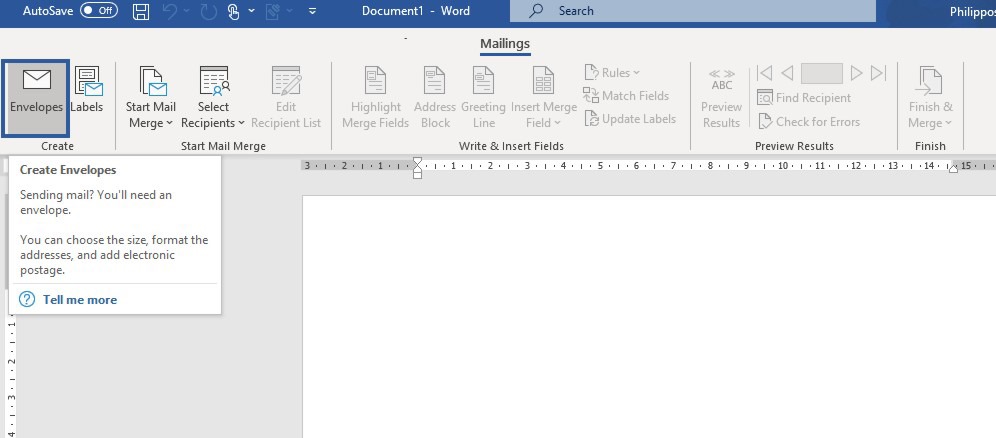
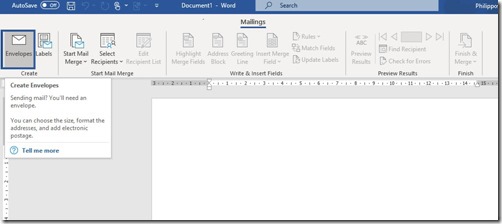
we select the mailings tab and from the left area of the ribbon called create we locate the command envelopes as shown. here, we are notified that send mail? you will need an envelope. you can choose the size, format addresses and add electronic postage.
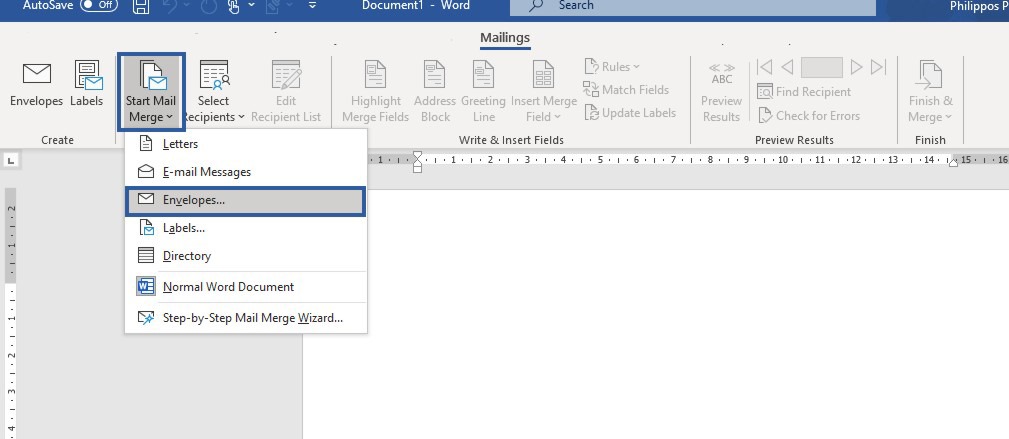
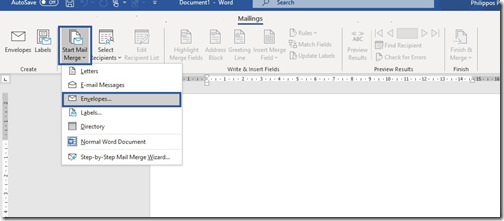
another way is to locate the area of the ribbon labeled launch mail merge and select the command start mail merge. After the drop-down menu that appears, we select the command envelopes as shown in the image below.
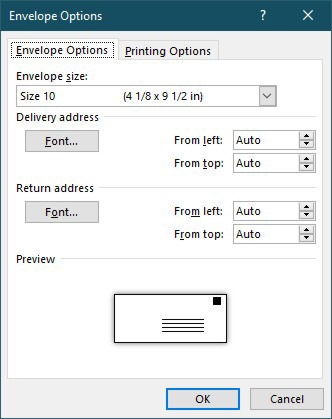
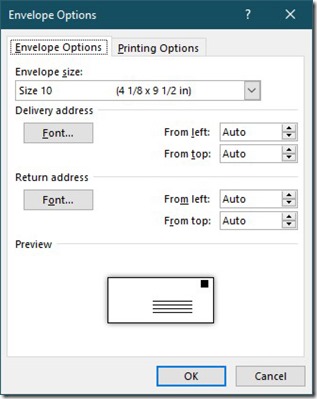
One way or another, the envelopes options dialog appears as shown with the envelopes options tab b> activated. here we can adjust the following using the appropriate commands:
at the bottom of the dialog, we have a preview of our envelope, where once we’re happy with how it looks, we just hit ok button.
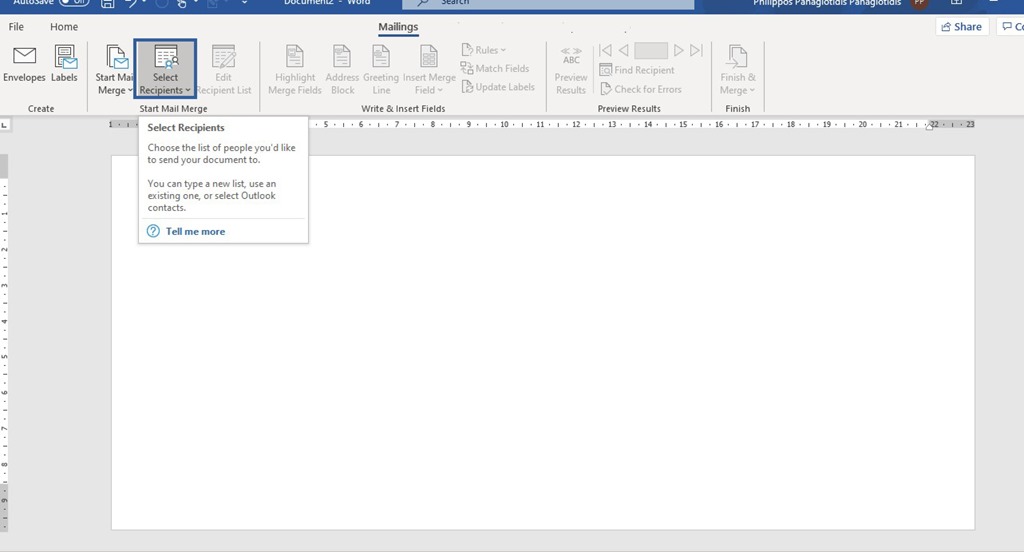
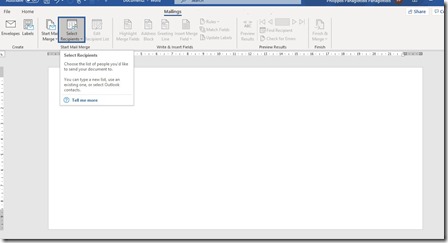
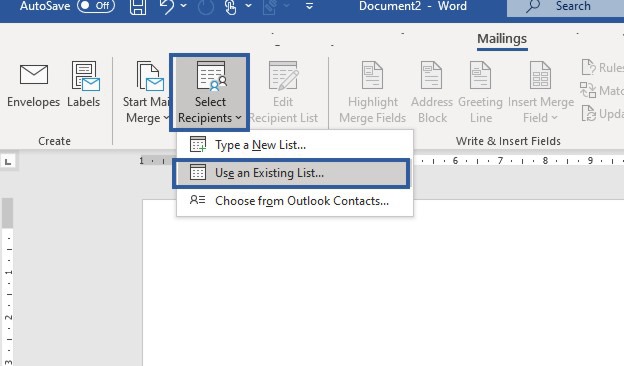
Next, we need to select the select recipients command. here we are notified that we have selected the list of people to whom we would like to send our document. you can write a new list, use an existing one or select outlook contacts.
we simply select the command select recipients, and from the drop-down menu that appears we select the command use an existing list. we also have the options to write a new list or choose from the outlook contacts. in future posts of mine i will describe how to write a new list and how to choose from outlook contacts.
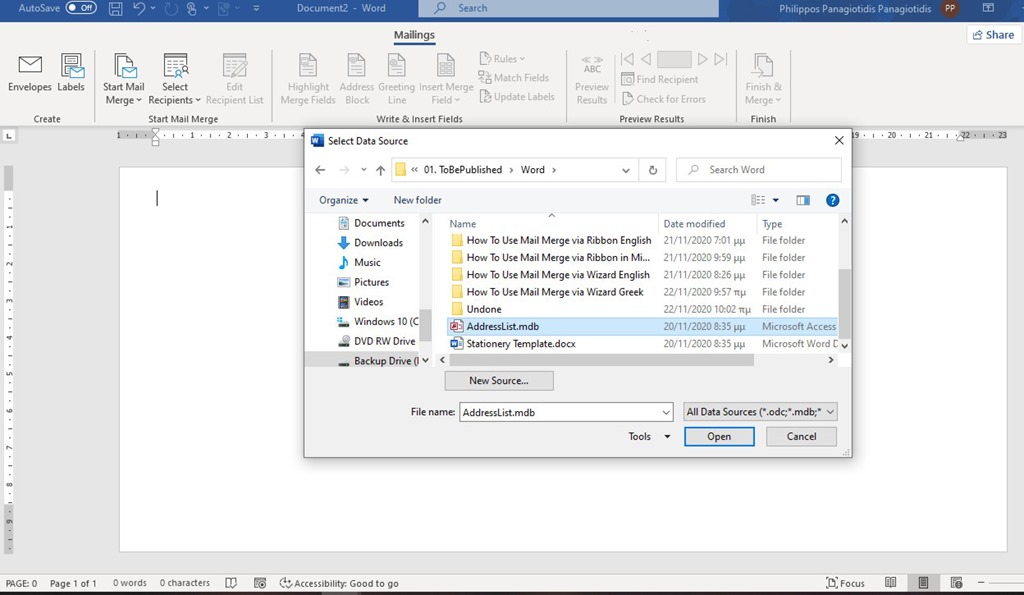
once we select the use an list existing command, the select the data source dialog appears as shown. here, we need to navigate and locate the file we want to use as a source of data and then press the open button.
once the data source has been selected for the recipients, we can check the data again source in case we want to add – remove or edit. In order for us to do that, we need to select the edit recipient list. here we are notified that we can make changes to our recipient list or choose specific people to receive mail. we can also sort, filter, find and remove duplicates and validate addresses in the list.
once we select the command edit recipient list the mail merge recipients dialog box appears as we can see in the image below. here we can see the following fields from our data source. the name of the data source and the fields that I have for my recipient list which are: last name first name, first name first name, company name, address line and email address. in a future post of mine, I’ll describe how to edit and create mail merge recipients. once we have finished editing the mail merge list of recipients, we simply press the ok button in the lower right corner of the dialog.
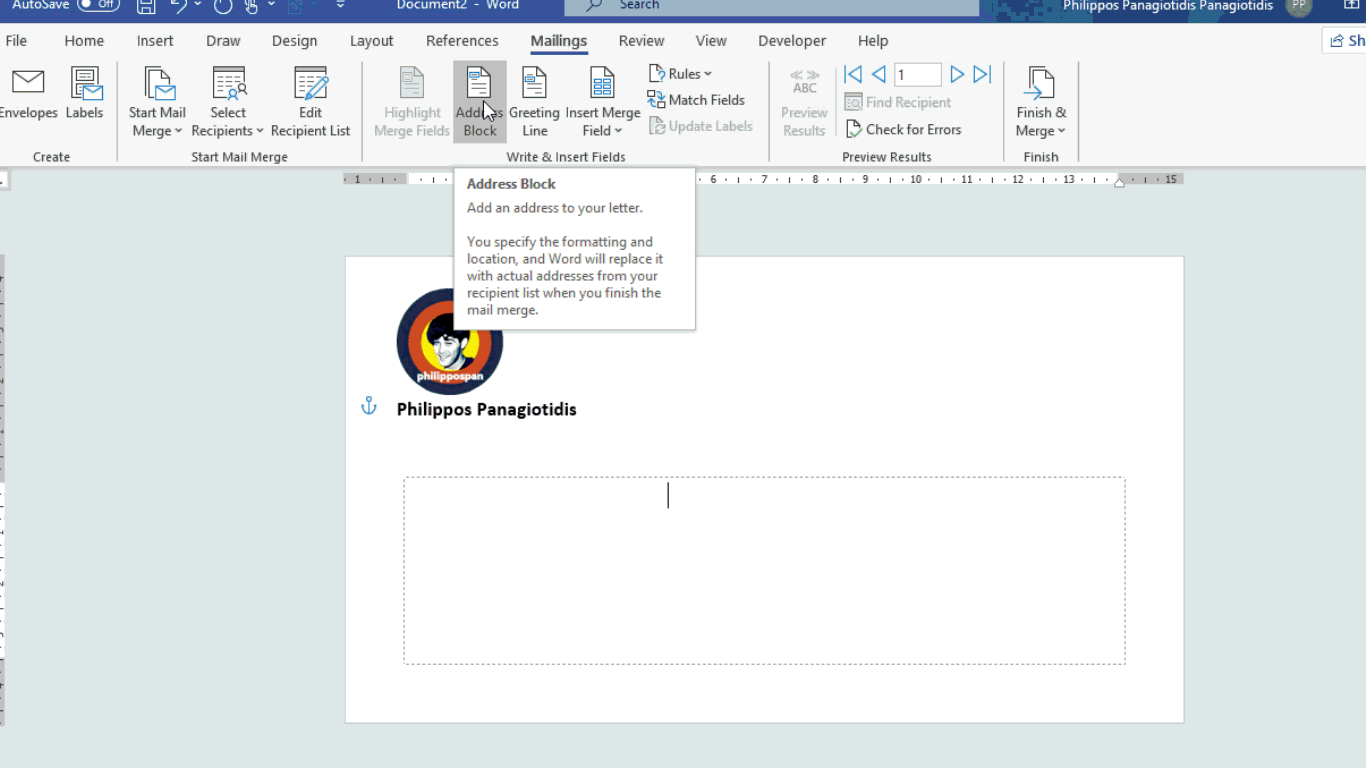
In the next step, we locate the write & insert fields. in this area we can use one of the following commands or a combination of them. we can highlight combine fields, insert an address book, insert a greeting line and insert merge fields.for this post, I’ll add a block of addresses, where we are notified that we canadd an address to our letter. we specify the format and location, and word will replace it with the actual address from our recipient list when we finish the mail merge.
The next step is to place our cursor inside the envelope at the exact point where we want the address block to be inserted. then we select the address block command, where the insert address block appears as shown below. here in this dialog we can insert recipient name in this format, insert company name , insert the postal address and format the address according to the destination country/region. as we make the adjustments, to the right of the insert address block dialog, we have a preview of our recipient list.
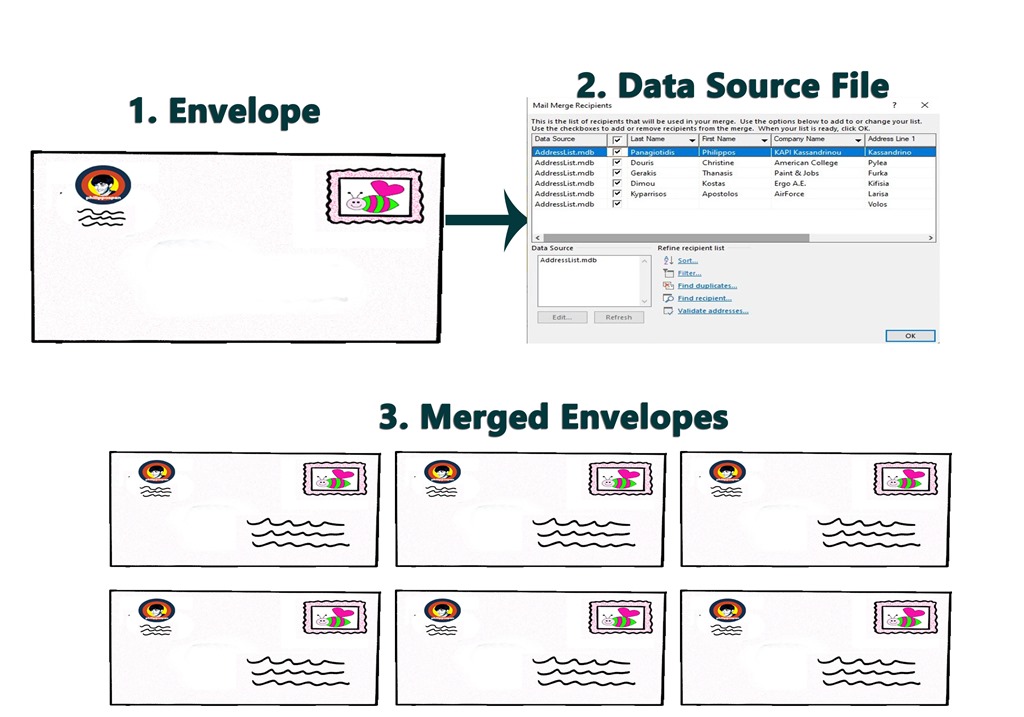
In the following image we can see my envelope. I have inserted a logo in the upper left corner and we can preview the address block that I have inserted in the lower right corner. The next step, once we have done all the steps described above, is that we can preview the results. then, in the preview results area of the ribbon, we can plug in information from our recipient list into the merge fields to see what the document will look like finished. we simply press the preview results button as shown in the image below, and in the actual envelope we can see that the address block has been replaced by the actual details of the recipients.
we can move between records by selecting the next records buttons, which are located in the upper right corner of the preview results of the tape.
once we’re satisfied with the results, we can proceed with finish and merge. At the far right of the mail combine tab we locate the area called finish. once we select the finish & merge, we can choose how we want to complete the mail merge. you can open a new window to view each copy of the document, send the submission directly to the printer or send it via email.
In the image below, I have selected the edit individual documents command, where the merge with new document dialog appears. here we can select merge all records, merge current record or define the range of records . once finished, we simply press the ok button to complete the mail combine.
the mail merge is complete. In the following image we can see six different envelopes. six were the recipients in my data source. the body, structure and logo of the envelope is identical to the six. the only thing that changes are the fields that you had inserted in the previous steps. one envelope for one recipient, another envelope for another recipient, and so on.

go ahead, you can watch the video that describes how to create envelopes via mail merge in microsoft word?
and…
go ahead, subscribe to my youtube channel!