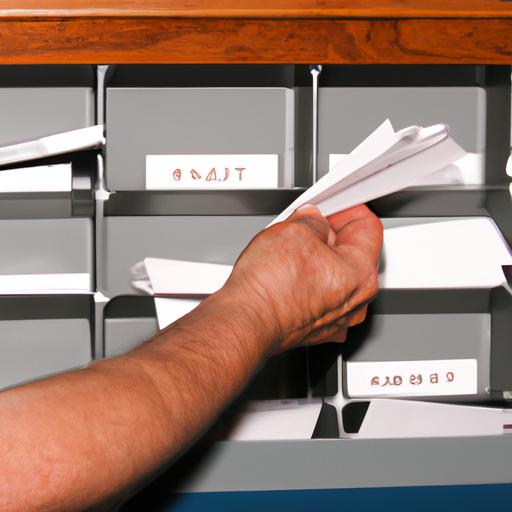
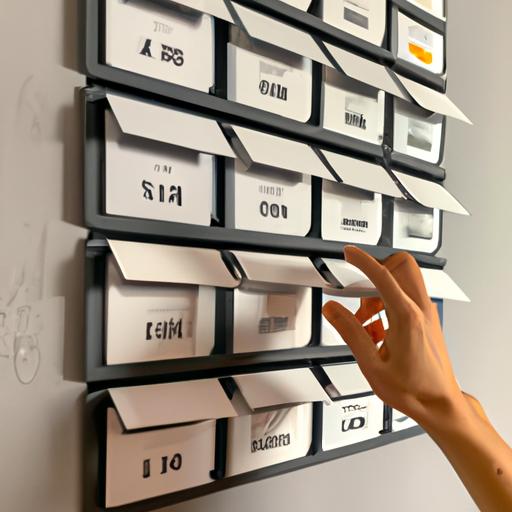
Are you tired of constantly losing important mail or leaving it scattered around your home? A mail organizer may be just what you need to keep your mail in check. But why spend a fortune on buying one when you can easily make your own?
In this article, we’ll take you through a step-by-step process on how to make an EASY DIY mail organizer from a boNot only is it affordable, but it’s also customizable to fit your personal style.
A mail organizer is a helpful tool that helps keep your mail in one place, making it easier to find important documents and bills. It’s also a great way to declutter your space and add a touch of organization to your home.
So, let’s get started on making your very own DIY mail organizer that will help you stay organized and stress-free!
Materials Needed
List of Materials
To make your DIY mail organizer, you will need the following materials:
- A cardboard box (shoebox or cereal box works great)
- Wrapping paper or decorative contact paper
- Scissors
- Ruler
- Pencil
- Glue or double-sided tape
- Optional: stickers, washi tape, or other decorative materials for customization
Where to Find Them and Cost
Most of the materials needed to make a DIY mail organizer can be found at home or easily purchased at a nearby craft store. A cardboard box can be salvaged from packages or purchased for a few dollars at a shipping supply store. Wrapping paper or contact paper can be found at a dollar store or a craft store for a minimal cost.
Scissors, rulers, and pencils are basic tools that you may already have at home. If not, they can be purchased at a dollar store or an office supply store at a low cost. Glue or double-sided tape can also be found at a craft or office supply store for a low price.
Optional decorative materials like stickers, washi tape, or other craft supplies can be purchased at a craft store or online. The cost of these materials will depend on the type and amount of supplies you choose to use.
Step-by-Step Instructions
Now that you have your materials ready, let’s dive into the step-by-step instructions on how to make your DIY mail organizer.
Step 1: Cut the Box
First, cut off the top flaps of the box using a sharp cutting tool. Then, cut the box in half horizontally, creating two smaller boxes.
Step 2: Create Dividers
Next, cut smaller pieces of cardboard to create dividers within the boMeasure and cut the dividers to fit the width of the box, making sure they stand upright and fit snugly. Glue the dividers in place.
Step 3: Add Compartments
Once the dividers are in place, you can create compartments within the boCut additional pieces of cardboard to create smaller boxes within the larger box, or use smaller boxes to fit within the larger boGlue them in place.
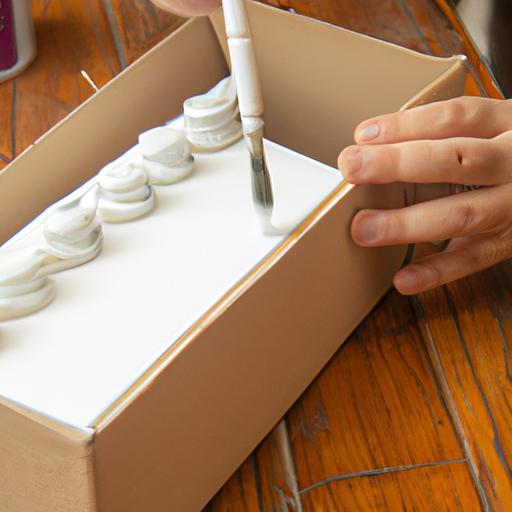
Step 4: Decorate the Box
Now comes the fun part – decorating your mail organizer! You can use paint, wrapping paper, contact paper, or any other decorative material to cover the box and dividers. You can also add labels to the compartments to keep everything organized.
Step 5: Hang or Place Your Mail Organizer
Finally, decide where you want to place your mail organizer. You can hang it on the wall using adhesive strips or hooks, or simply place it on a table or desk.
With these easy step-by-step instructions, you can make your own DIY mail organizer in no time. Don’t forget to snap a picture and share it with us!
Decorating the Mail Organizer
Once you’ve made your DIY mail organizer, it’s time to make it your own and add a personal touch. There are many ways to decorate your mail organizer to match your personal style, and we’ve got some great ideas to inspire you.
Paint and Stenciling
One way to decorate your mail organizer is by painting it with your favorite colors or patterns. You can also add stenciling for a more intricate design. Use masking tape to create clean lines and avoid any mess.
Decoupage
Another fun way to decorate your mail organizer is by using decoupage. Cut out pictures or patterns from magazines or scrapbook paper and use a glue mixture to attach them to your mail organizer. This is a great way to make your mail organizer unique and personal.
Labels and Chalkboard Paint
Labels and chalkboard paint are both great ways to add a functional and decorative touch to your mail organizer. Use labels to categorize your mail, such as bills, invitations, and personal letters. Chalkboard paint allows you to write notes or to-do lists right on your mail organizer.
Natural Elements
For a more natural and rustic look, consider adding natural elements to your mail organizer. Use twine or jute to wrap around the edges, or add small pine cones or leaves as accents.
In conclusion, decorating your mail organizer is a fun and creative way to make it your own. With these ideas and inspiration, you’ll have a mail organizer that not only keeps you organized but also adds a touch of personality to your space.
Benefits of DIY Mail Organizers
Are you debating whether to buy a mail organizer or make one yourself? Let us convince you why DIY mail organizers are the way to go.
Stay Organized
One of the main benefits of DIY mail organizers is that they help you stay organized. When you have a designated place to put your mail, you’re less likely to misplace important documents or forget to pay bills. Plus, it’s much easier to find what you’re looking for when everything is in one place.
Customizable
Another great benefit of making your own mail organizer is that you can customize it to fit your personal style and needs. You can choose the size, shape, and color of the box to match your decor and add any additional features that you may need.
Affordable
Buying a mail organizer can be expensive, but making one yourself is much more affordable. All you need is a box and a few other materials that can be found at any craft store. Plus, you can reuse items you already have at home to keep the cost even lower.
Eco-Friendly
By making your own mail organizer, you’re also doing your part in being eco-friendly. You’re reusing an old box that would have otherwise gone to waste and creating a new and useful item.
In conclusion, making a DIY mail organizer has many benefits. It helps you stay organized, is customizable, affordable, and eco-friendly. So, why not give it a try and see the difference it can make in your life?
Conclusion
In conclusion, making an EASY DIY mail organizer from a box is a great way to keep your mail organized and easily accessible. By following our step-by-step instructions and incorporating your personal style, you can create a mail organizer that not only serves its purpose but also adds a touch of personality to your space.
Not only is making your own mail organizer affordable and customizable, but it’s also a fun and rewarding DIY project that anyone can do. Say goodbye to lost mail and cluttered spaces, and hello to a stress-free and organized home.
We hope this article has inspired you to create your own DIY mail organizer and that it has been helpful in guiding you through the process. Don’t forget to share your creations with us and happy organizing!