In this guide, we have shared the steps to create a free website on the WordPress.com platform. There is a big difference between WordPress.org and WordPress.com, I will cover the differences in a separate post, for now just know that you can build a free website on WordPress.com, not WordPress.org. Here, we’ll show you how to build and host your website on WordPress.com for free.
![]()
Let’s get started with the step-by-step process of creating a site.
Step 1 : Sign up with WordPress.com
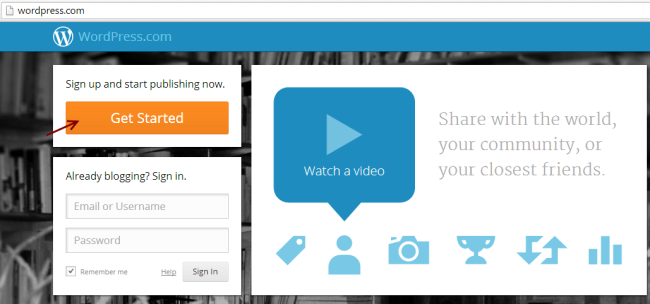
You need to sign up with WordPress.com first, so go to http://wordpress.com/ and you will see a screen like below. Click Get Started. You will be redirected to a registration page.
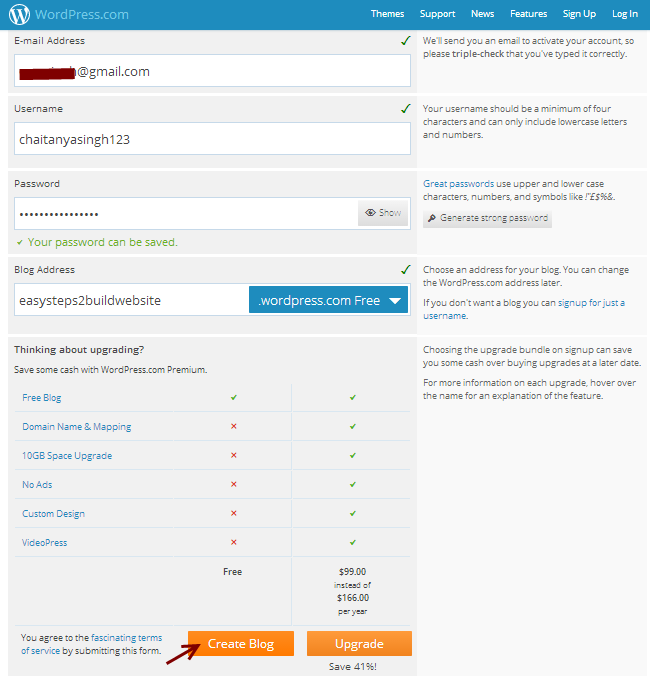
Fill in the registration form. The fields you need to provide are email address, username, password, and blog address (domain name). Click on Create blog!
There are a few things to know: the domain name you choose will have the suffix WordPress.com (since you are using the WordPress platform to build a free website)
strong >, for example, I choose a blog name like easysteps2buildwebsite and it has the wordpress.com suffix automatically added to it, so my fully qualified domain name (website address) is easysteps2buildwebsite.wordpress.com.
Step 2 : Confirm Email and Activate Blog
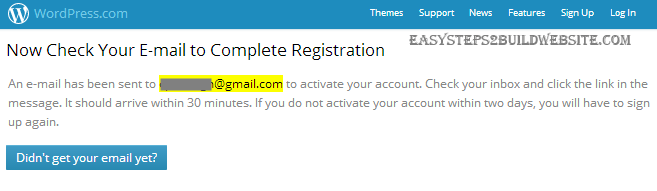
Once you are done with step 1, you will see a screen like the one below, asking you to confirm your email address.
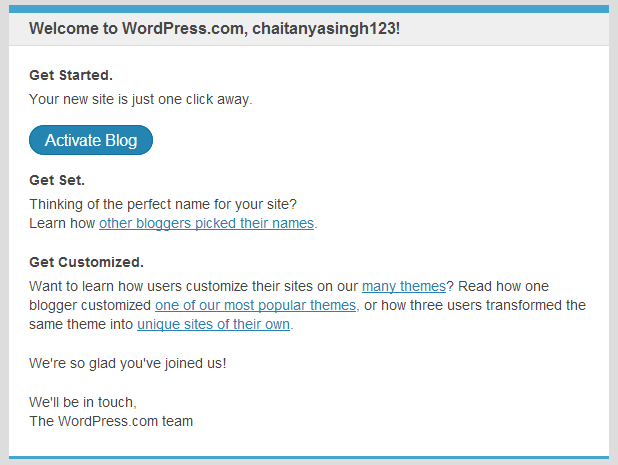
Go to your email email and click Activate Blog! to confirm the address. The email you receive will look like the one below.
Step 3: Set up your blog
Once you’re done with step 2, you’ll be asked for a few details about your new website, as blog Title, tagline and language. Click Next Stepafter completing all these details.

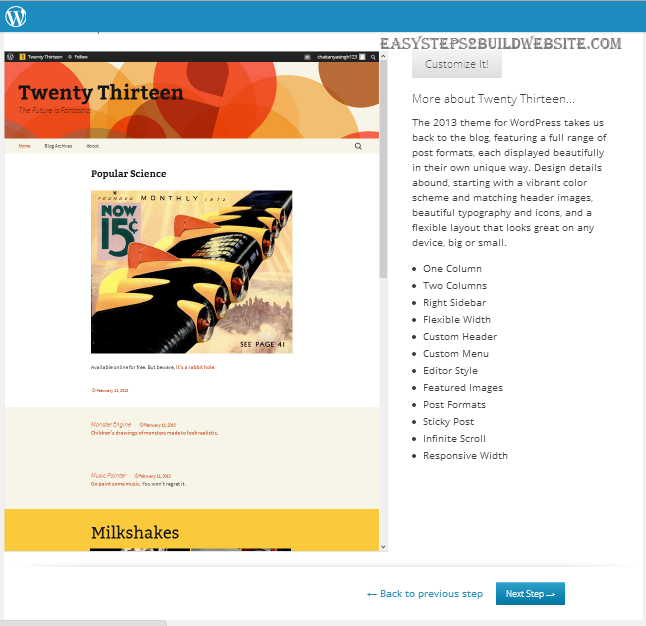
Step 4: Choose and customize the WordPress theme
In this step you must choose a theme for their website. There you will find free and premium themes. Choose any of the free themes, select it and go to the next step. You can also find more free themes at http://theme.wordpress.com/themes/sort/free/.

Customize the theme if you want otherwise click Next Step
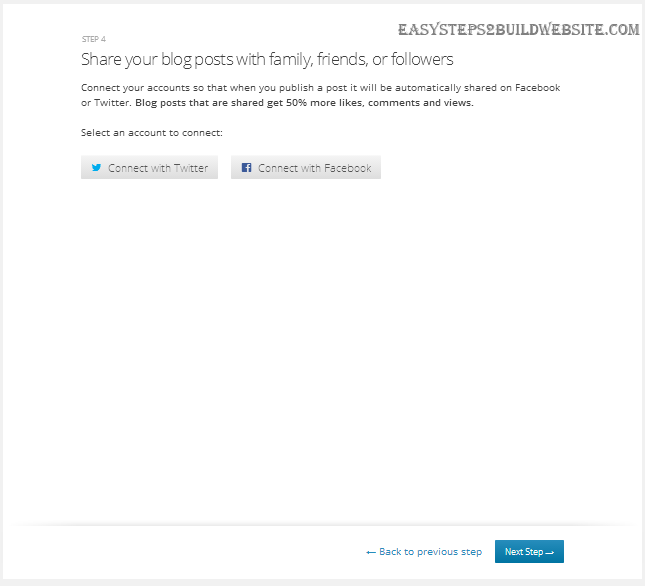
Step 5: Connect with Facebook or Twitter
You can choose to set up your Twitter and Facebook accounts here. You can also skip this step and go to the next step. You will be able to configure these elements later.
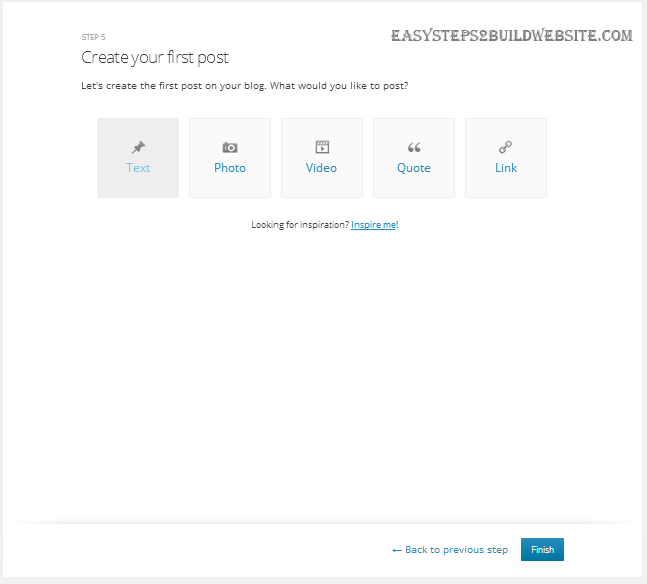
Step 6: Finish the process
Click Finish! You have successfully created a free website on WordPress. Time to check how the website looks.
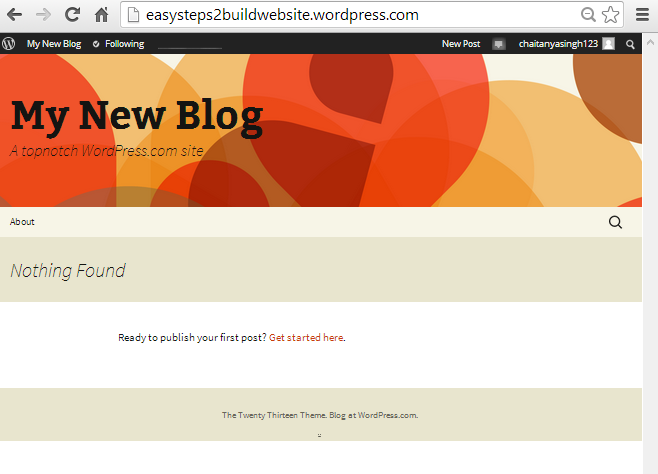
Step 7: Visit your newly created website
Go to the browser and provide your fully qualified domain name (website URL). You could see your website. Great huh! The whole process took just a couple of minutes to get everything set up. Wait!! We are not done yet, it is just the beginning, you would need to change the look and feel of your website to make it look attractive. You can do so by referring to the following section.
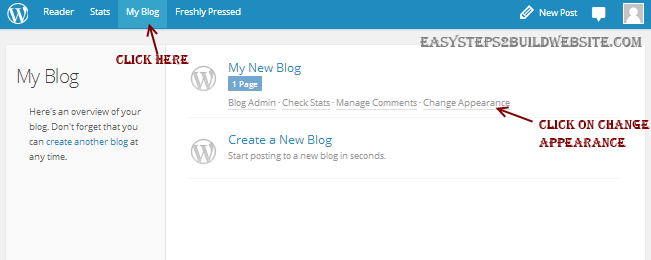
Change Appearance
To change the appearance of your newly created website. Click My Blog in the menu bar, and then click Change Appearance. See the snapshot below to see the same thing.
You will find the following screen. This is your WordPress Dashboard, you can do many more things using the left sidebar. We are on the Appearance tab on the left sidebar which allows you to customize the existing theme and switch between new themes.Can you see the left black sidebar? Let me cover some basic things about the sidebar before finishing this tutorial.
- Dashboard – For WordPress updates, plugins, and themes.
- Posts: To edit, delete, and write new posts.
- Media: To manage and upload new media files, such as images and videos li>
- Pages: to manage and create new pages on your blog.
- Comments: to moderate comments: here you can approve, delete and respond to comments.
- Appearance: We already covered this before, to test new themes and customization.
- Settings: a lot more things to do. Review the settings and configure them according to your needs.

Final words
That’s it. I am pretty sure that you must have created a cool website for free by following the steps mentioned above. If you have any questions or concerns regarding this, feel free to drop a note in the comment section below, we will be more than happy to assist you. Please share your views and ideas on this to make it more informative so that even a beginner can do it on their own. If you like the tutorial, share it with your friends on Facebook, Gplus and twitter.
.