 Difficulty:low Time:many coffees
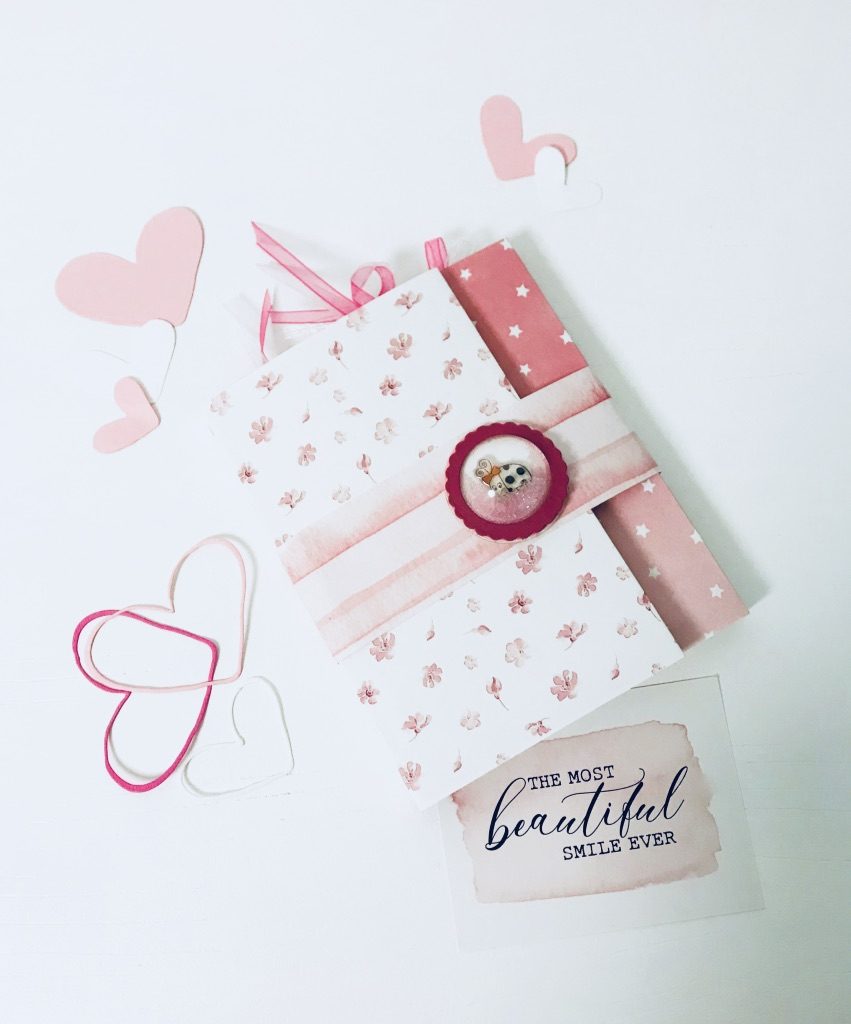
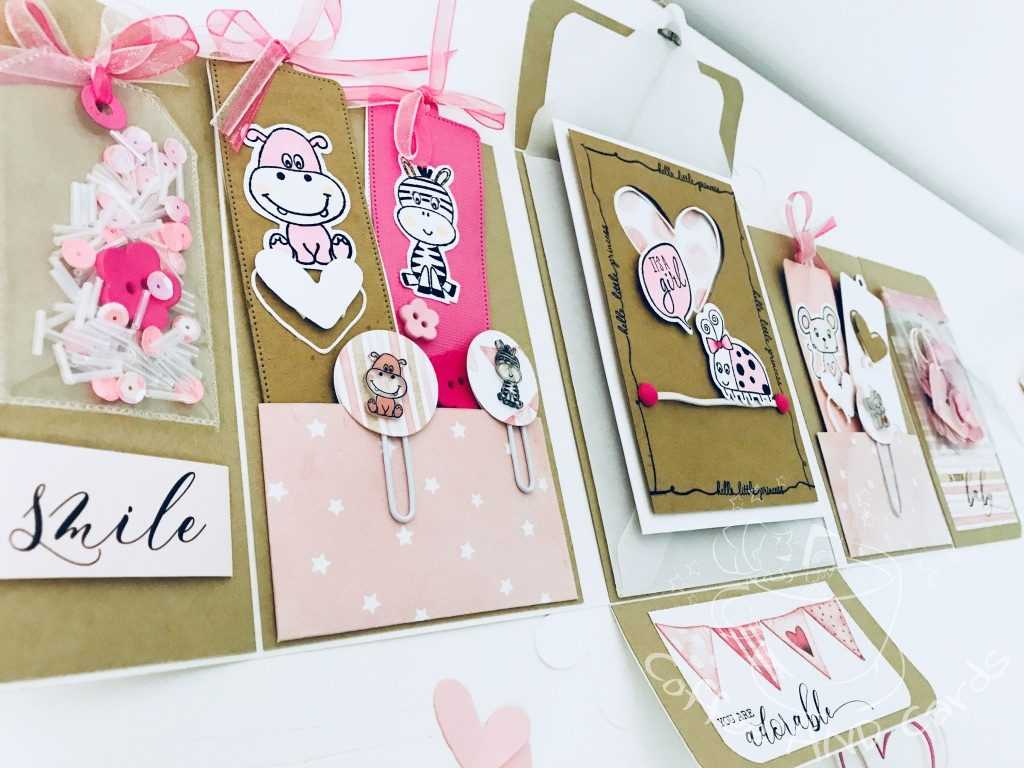
Hy dear cardmakers!! I’m very excited and happy to share a project that has been on my mind for quite long time : a Flip book …But what does Flip Book mean?! It’s also called “Snail Mail” or “Happy Mail” and it’s basically a creative and gentle way to share gifts and ideas with other crafters and learn from them!
the main elements of the flipbook are:
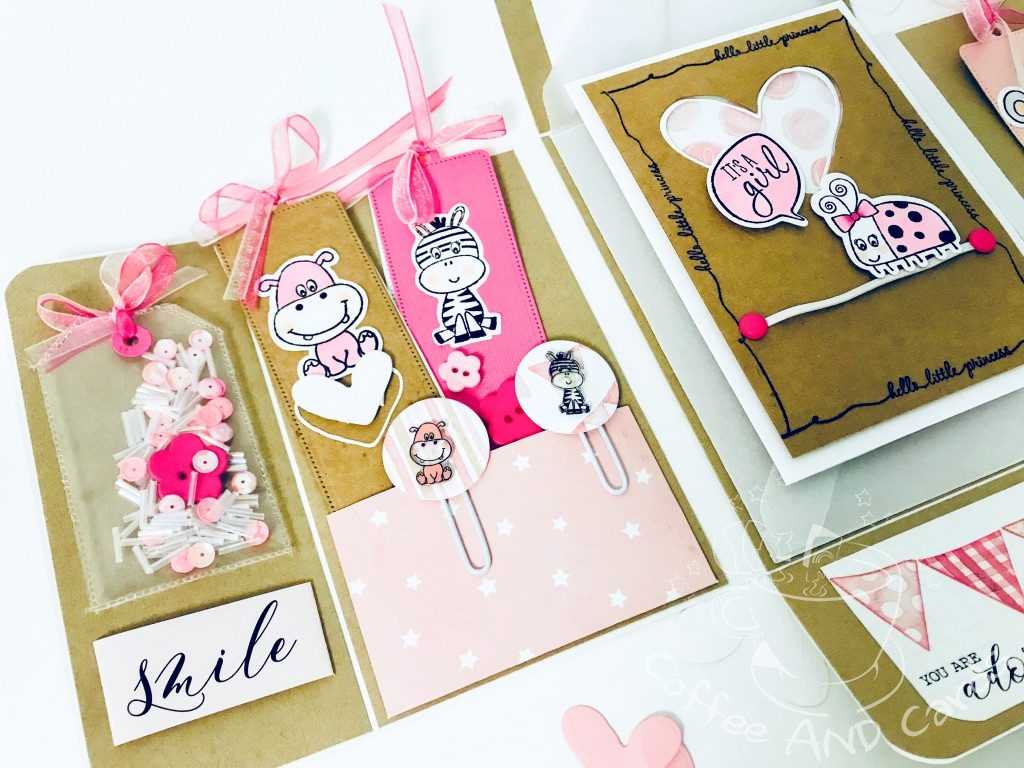
- a letter: to send a message to your new friend
- a tag: to ask any questions that the pen pal can answer when sending your flipbook
- the goodies: some extra goodies that the pen pal can use for their creations
There are so many layouts you can use for your flipbook… this time I started with the inner elements and then built the structure around them.
materials:
- modalscrap “cotton candy pink” paper pack
- bazzill craft, honey, white vellum, slipper, flower, white
- stamps and dies “puppies girl ” and “puppies boy” by modascrap
- die “true love” by modascrap
- die “love, life tag” by modascrap
- die “circles” 657551 by sizzix
- sizzix “festoon circles” die 657552
- sizzix “dimensional domes” 663559
- matte shrink film
- pencils colors
- transparent page protector
- fuse tool
- imronte d’autore cutter
- cutter and scissors
- double-sided tape 0.5 cm and 1 cm double-sided tape / 3d foam
- versafine and stazon nero
- glossy transparent
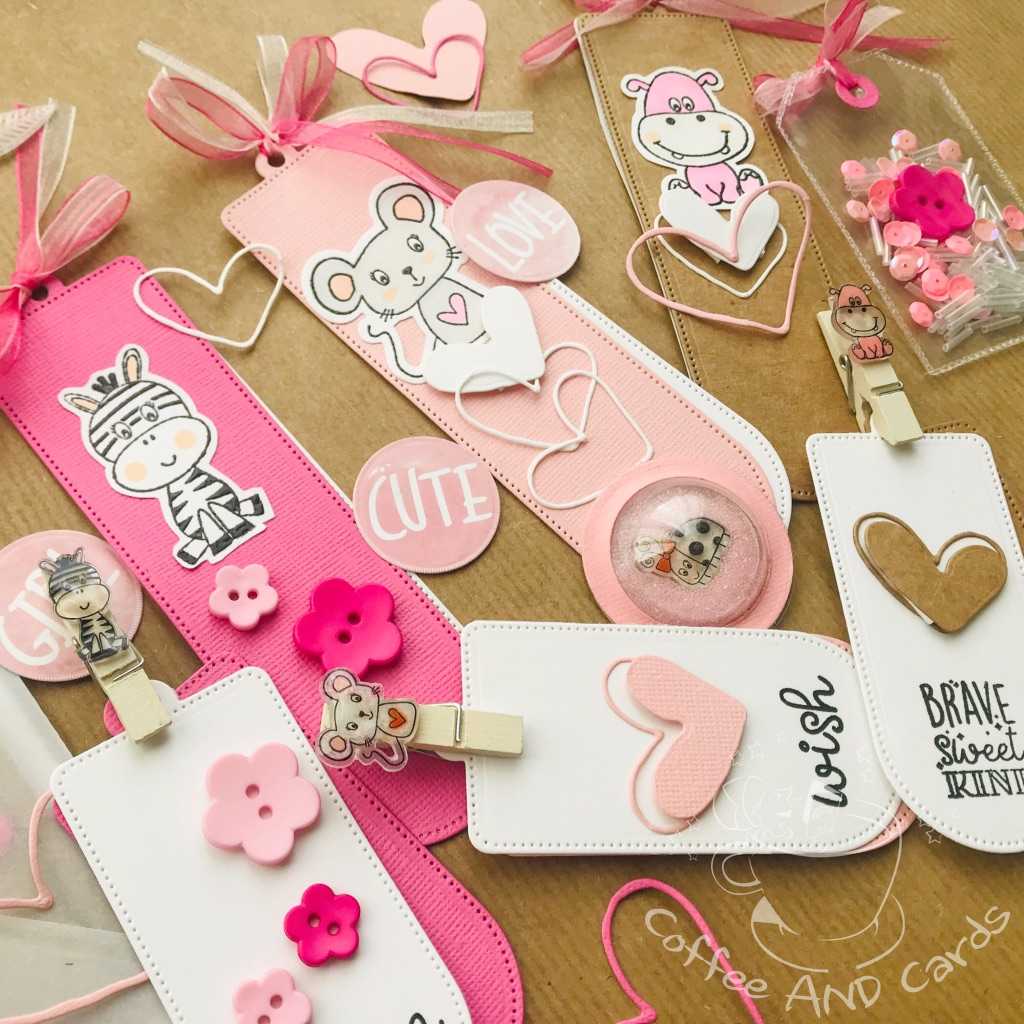
First, with a black stazon, I stamped all the little characters from my “puppy girl” and “puppy boy” sets onto a matte polishrink film. I waited a few minutes to allow the stamps to dry and then used my pencils to add a bit of color (you don’t need to spend too much time on this exercise as the colors will become much brighter once the stage is complete). cooking).
It is very important to wait a few minutes and after punching them, I put them on a baking tray previously covered with baking paper in the oven preheated to 170° for just a few minutes
It’s a very fascinating process: you’ll see your little characters curl up and shrink to about 60% of their original size and then flatten out again. once they were flattened (takes about 2 minutes) I took them out of the oven and flattened them with a meat mallet. the polish cools down pretty quickly, so he will have to act fast 🙂
I then applied the clear gloss to give them a nice shine and let them dry overnight.

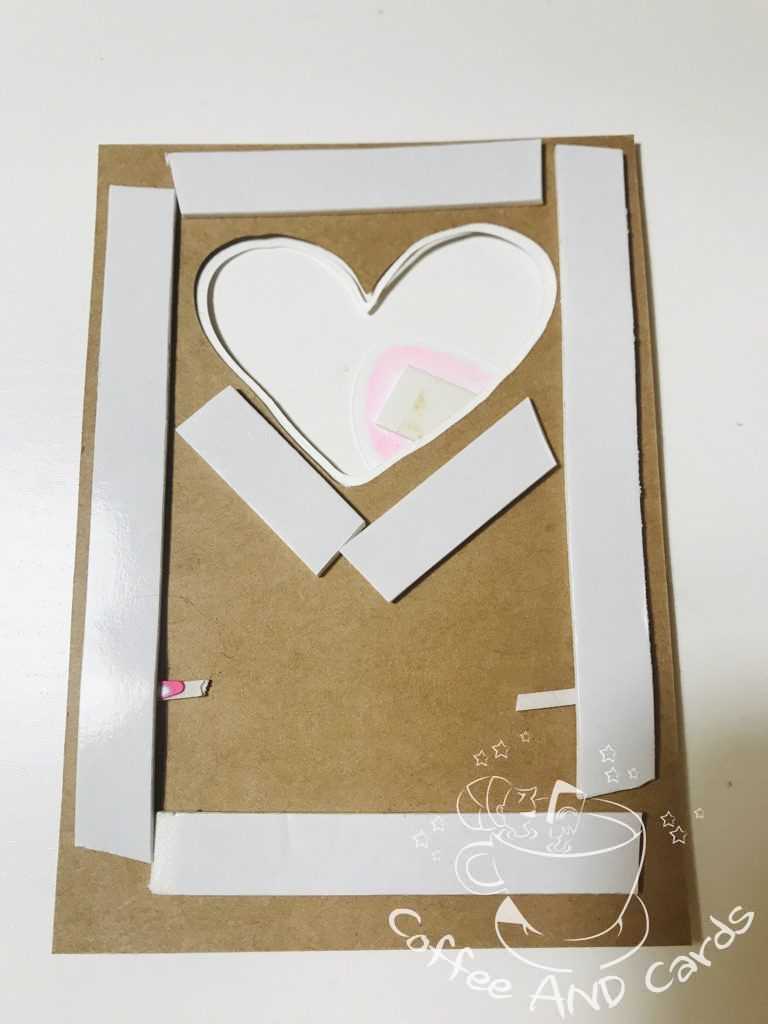
I suggest you test the glue first as it could ruin your paper if too strong.


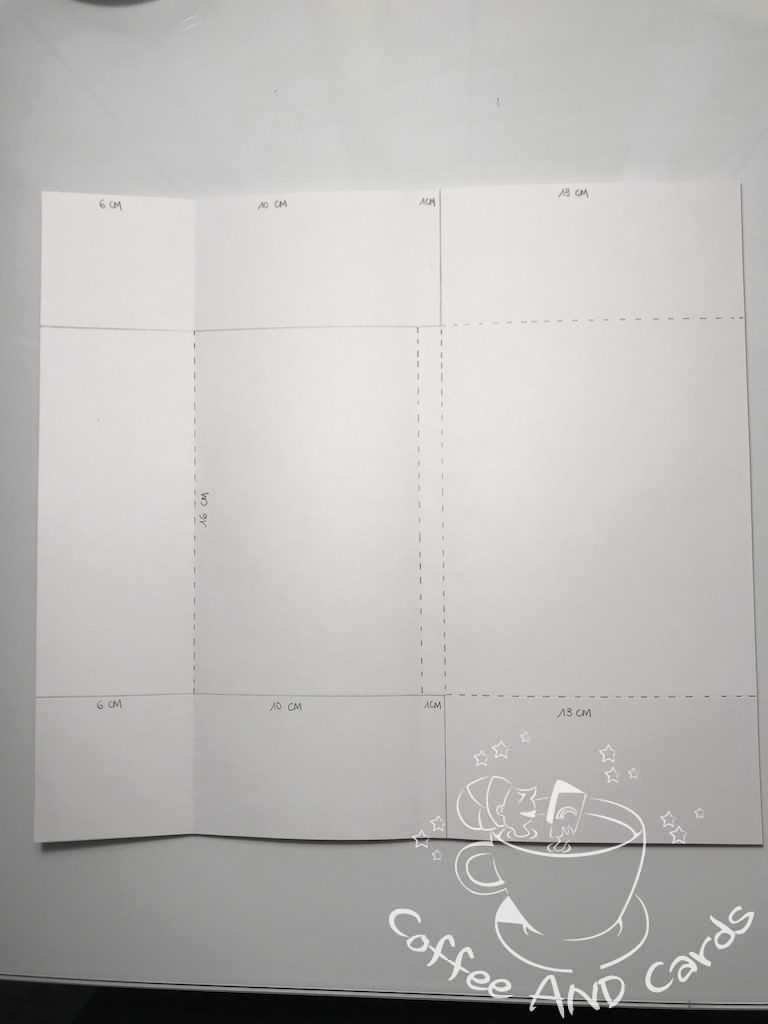
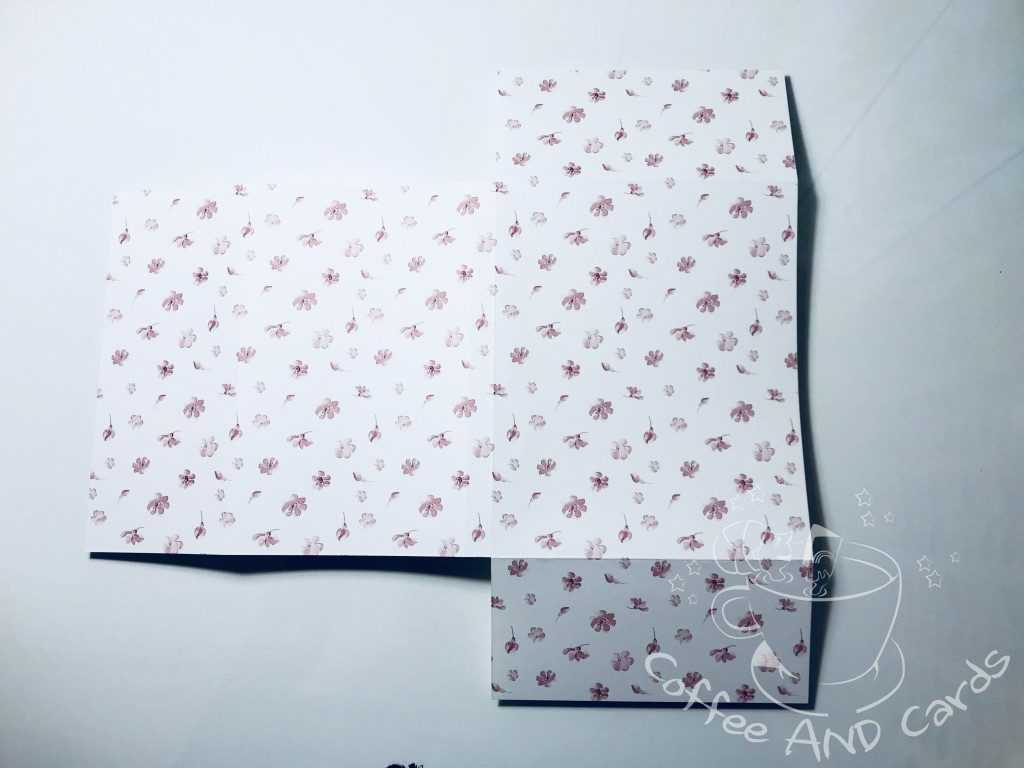
The Structure


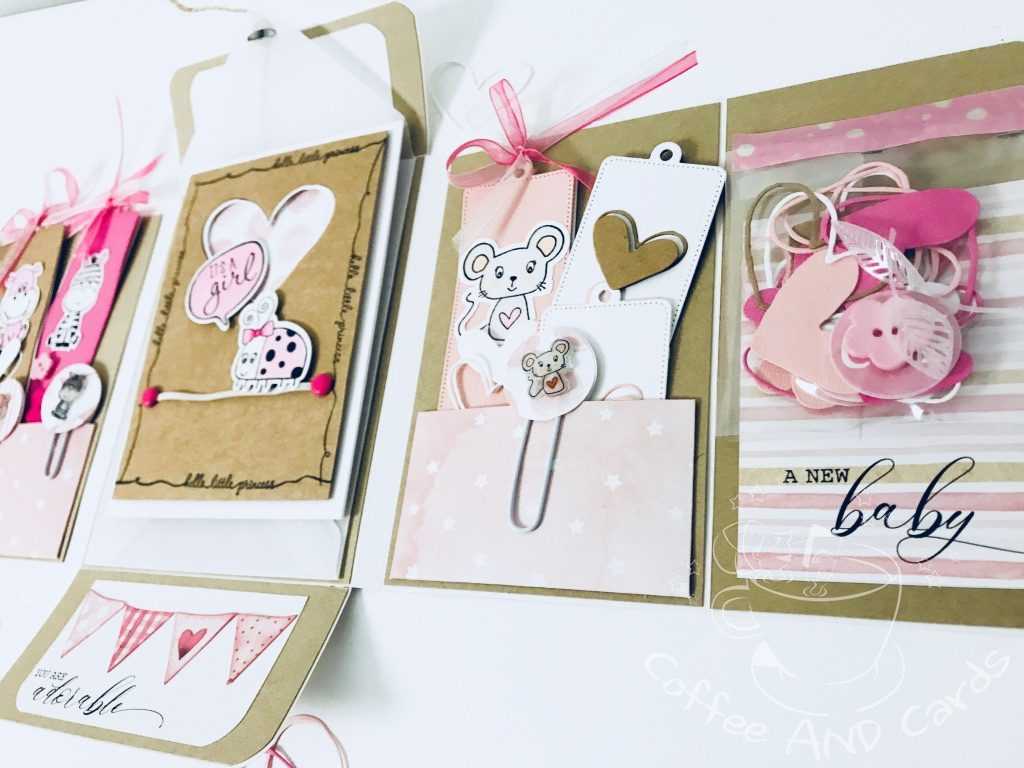


Et Et voila’ our Flip Book is done- hope you like it!!
kiss kiss