welcome to freeola internet customer service pages. This guide is designed to help you make sure you take a complete backup of your Windows Live Mail client in case you need to update your mail service.
This guide is for the Windows 7 version of Mail. At the time of writing, it is not possible to automatically back up all mail at once with the Windows 10 and 11 versions of this software. .
windows 7
-
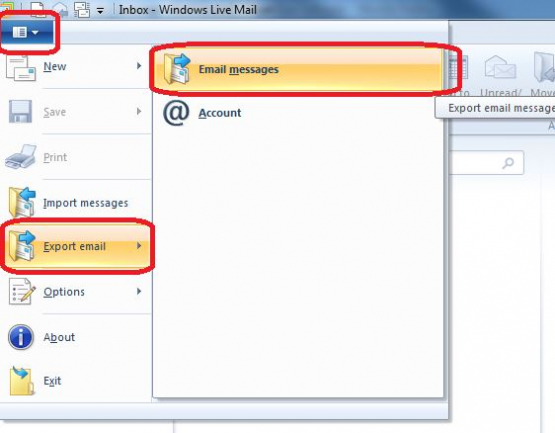
open windows live mail.
From the File menu, select Export Mail then Email Messages.
The first screen will ask you to specify which format you wish to export your mail to, from the list please select Microsoft Windows Live Mail and press Next.

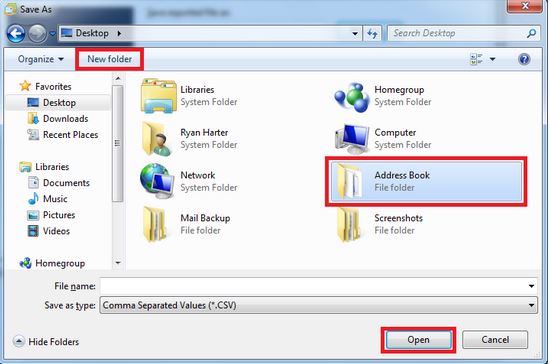
The next screen will ask you to specify a location where your messages will be backed up, use the browse button to navigate through the files and folders on your computer. be sure to back up your messages to a safe location, like your “documents” folder. be sure to specify an empty directory. press next.
The next screen will ask you to select the folders you want to back up, select the relevant folders or click all folders. once you’ve done that, press the next button.
The Export process will now start, please be patient as the process can take a while depending on how many messages you have. Click Finish to complete the process.
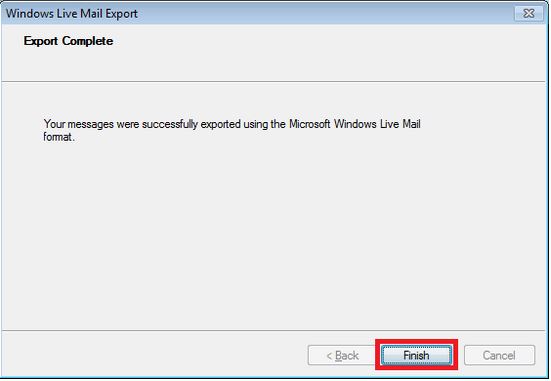
Your messages will now be backed up, in case you need to delete the account.
-
open windows live mail.
select contacts from the menu in the lower left corner of the screen.
In the top toolbar, select export and click comma separated values (.csv).
The first page of the wizard will ask you to specify a location to save your backed up Address Book. Please select a safe directory, such as your Documents folder. Press Next.
The next page will ask you what details you want to store, select the fields you need and press finish.
Once complete, your address book will be saved to the specified location.
windows 7
-
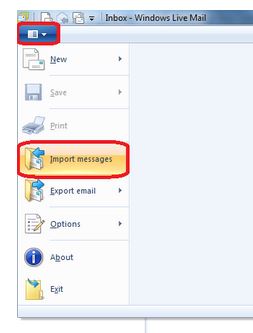
open windows live mail.
From the File menu, select Import Messages.
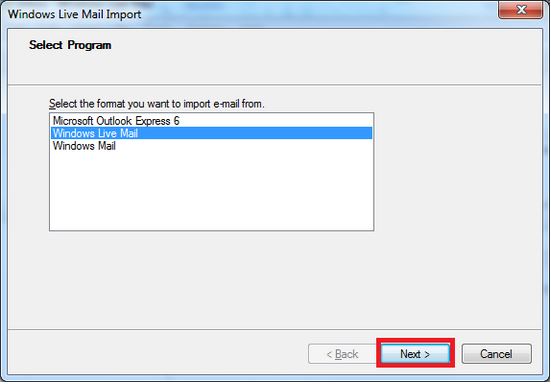
The first screen will ask you to specify which format you wish to import your mail from, from the list please select Microsoft Windows Live Mail and press Next.
The next screen will ask you to specify the location where your messages are stored, use the browse button to browse through files and folders on your computer. this location will be the same place where you backed up your messages a short time ago.
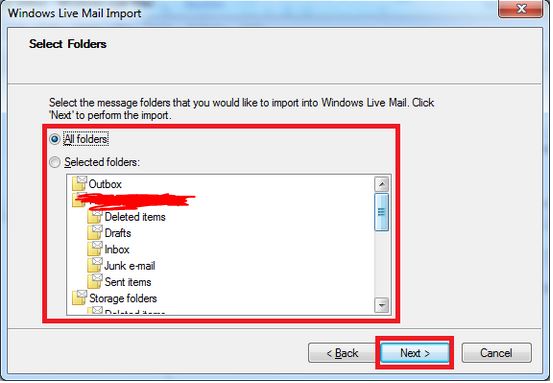
The next screen will ask you to select the folders that you wish to restore, select the relevant folders or click All Folders. Once you have done so, press the Next button.
The import process will now start, please be patient as the process may take a while depending on how many messages you have. once this is complete, click finish.
your mail will now be restored, you can find your messages in ‘storage folders’ -> ‘imported folder’.
-
open windows live mail.
select contacts from the menu in the lower left corner of the screen.
on the top toolbar, select import and click comma separated values (.csv).
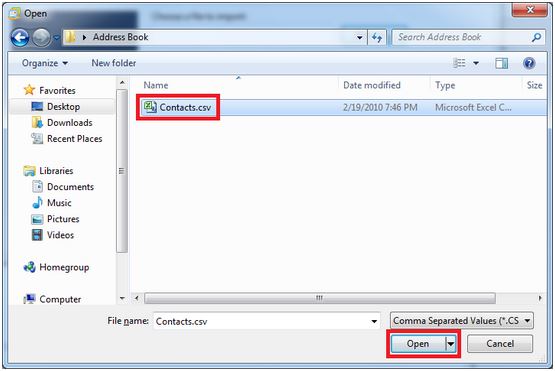
The first page of the wizard will ask you to specify a location to where your Address Book is currently backed up. Press Next when you have located the file.
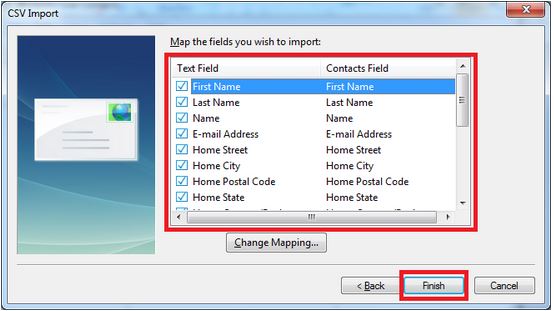
The next page will ask you which details you wish to restore, select the fields that you require and press Finish.
Your address book will now have been imported and can be found in the left side menu within live mail.
-
-
-