creating a mail server on linux machines may be one of the most essential things every sysadmin needs to do when setting up servers for the first time, if you don’t know what that means; it’s simple, if you have a website like “example.com“, you can create an email account like “[email protected]” to use it to send/receive mail emails easily instead of using services like hotmail, gmail, yahoo mail, etc.
In this article, we will learn how to do this by installing the postfix mail server with the “roundcube” webmail application and its dependencies on debian 10/9 and ubuntu 20.04/18.04/16.04 versions of lts.
step 1: set a hostname and create dns records for the domain
1. First, configure a valid fqdn hostname (fully qualified domain name) for your ubuntu server using the hostnamectl command as it shows.
2. Next, you need to add an mx and a record for your domain in your dns control panel that guides other mtas that your mail.yourdomain.com domain mail server is responsible for email delivery .
step 2: install apache, mariadb and php on ubuntu
3. In order to create a running mail server using “roundcube”, we will have to install apache2, mariadb and php packages first, to do so, run.
On debian 10/9, you need to download and install the sury php ppa repository to install php 7.4 on debian 10/ 9 as shown.
step 3: install postfix mail server on ubuntu
4. postfix is a mail transfer agent (mta) which is the software responsible for delivering & receive emails, it is essential to create a complete mail server.
to install it on ubuntu/debian or even mint, run:
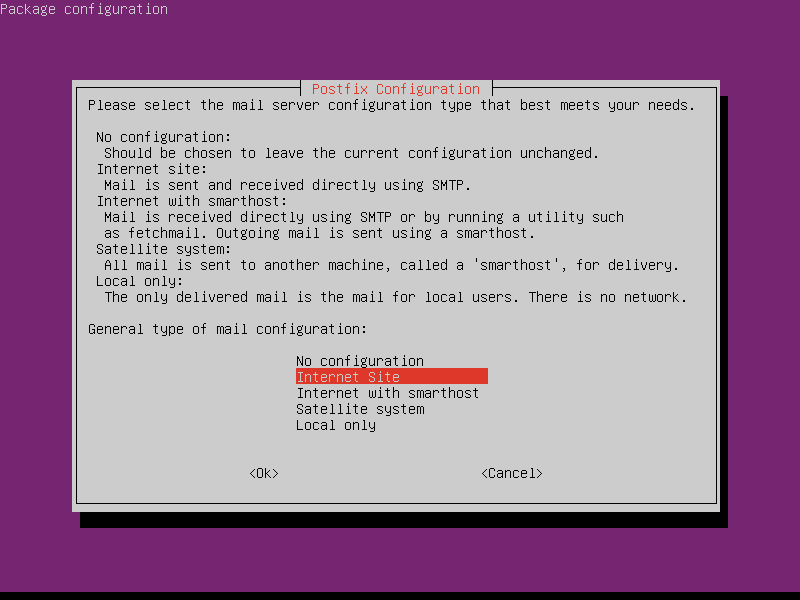
during installation, you will be prompted to choose the type of mail setup, choose “internet site”.
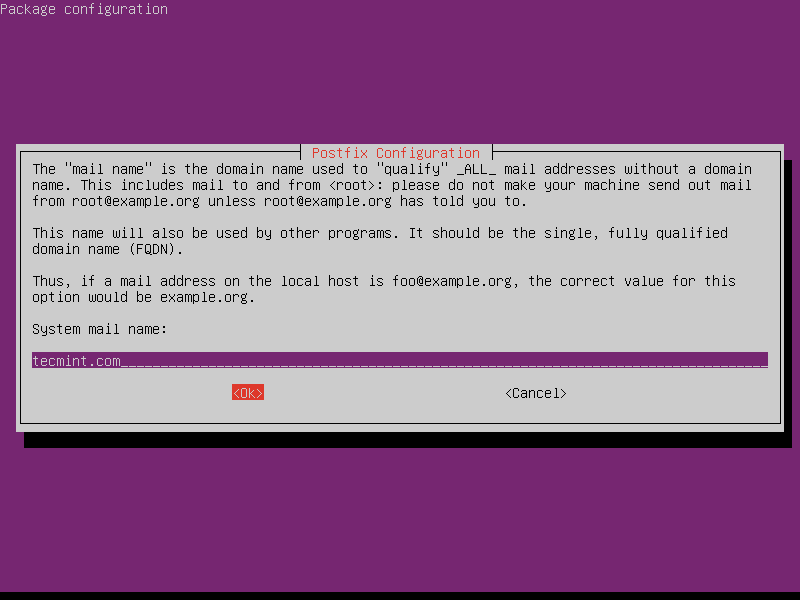
5. Now enter the fully qualified domain name that you want to use for send and receive emails.
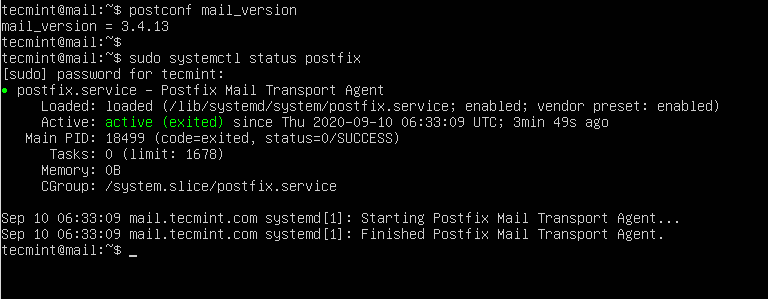
6. Once postfix is installed, it will start automatically and create a new file /etc/postfix/main.cf. you can check the postfix version and service status using the following commands.
Step 4: Testing Postfix Mail Server on Ubuntu
7. Now try to verify that your mail server is connecting on port 25 using the following command.
The above message indicates that the connection has been successfully established. type exit to close the connection.
8. You can also use a mail program to send and read email using the following command.
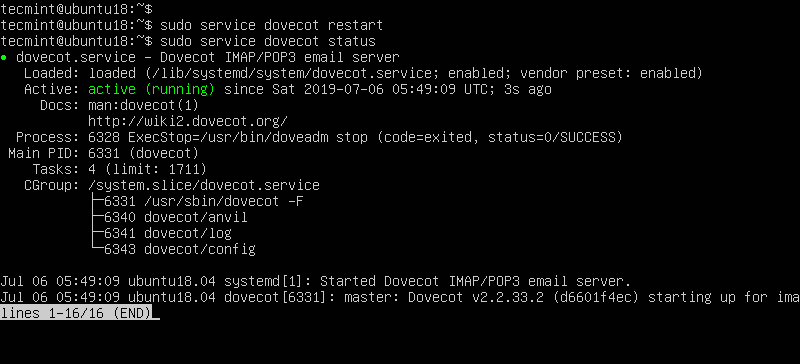
step 5: install dovecot imap and pop on ubuntu
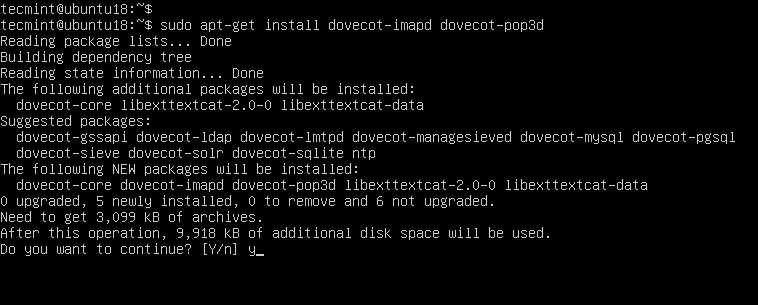
9. dovecot is a mail delivery agent (mda), it delivers mail to/from the mail server, to install it, run the following command.
10. Next, restart the Dovecot service using the following command.
Step 6: Installing Roundcube Webmail in Ubuntu
11. roundcube is the webmail server you will use to manage emails on your server, it has a simple web interface to get the job done, it can be customized by installing more modules & themes.
12. Next, you need to create a new database and user for roundcube and give all permissions to a new user to write to the database .
13. Next, import the initial tables into the roundcube database.
step 7: create an apache virtual host for roundcube webmail
14. create an apache virtual host for roundcube webmail.
add the following configuration to it.
15. Next, enable this virtual host and reload Apache for the changes.
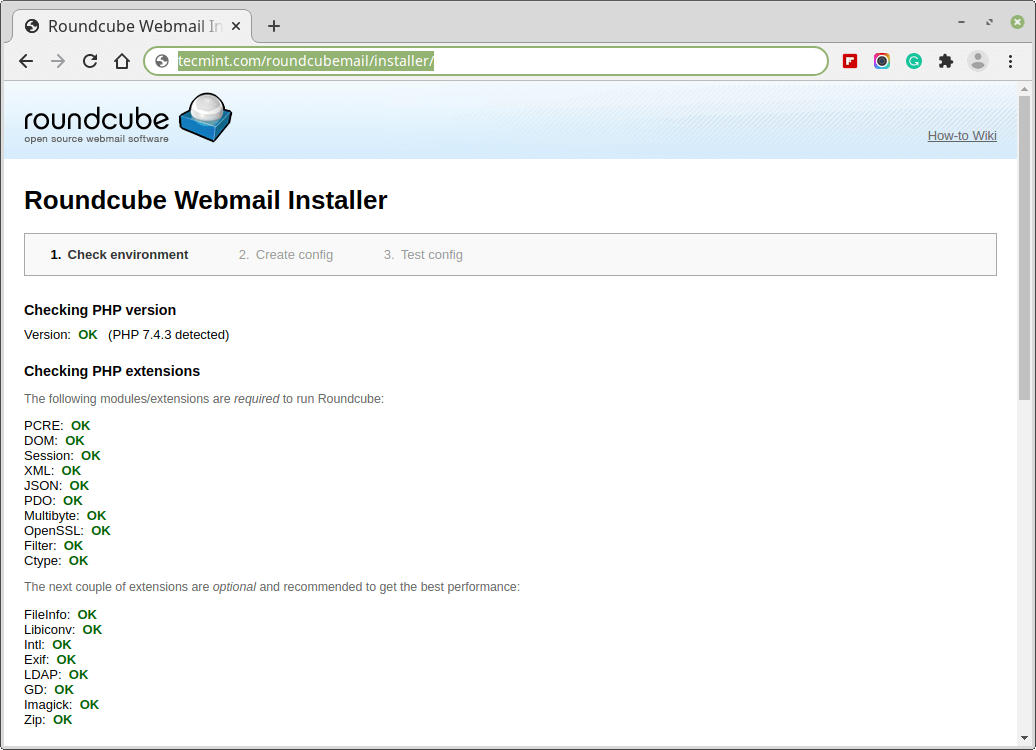
16. You can now access webmail by going to http://yourdomain.com/roundcubemail/installer/.
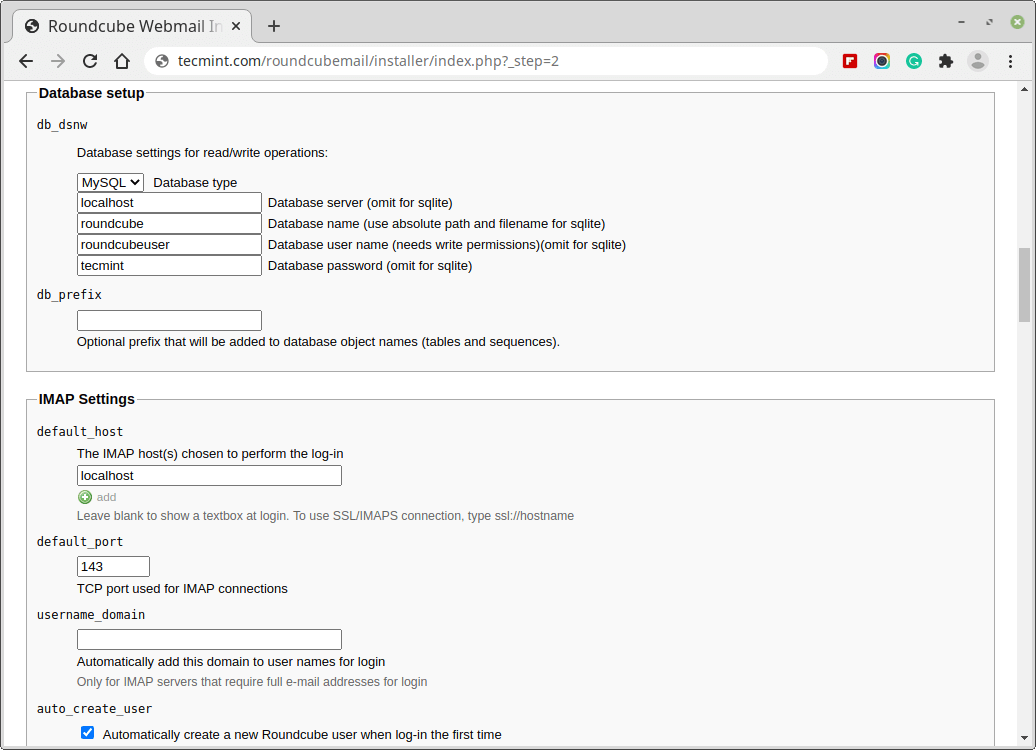
16. Next, go to the Database settings and add the database details.
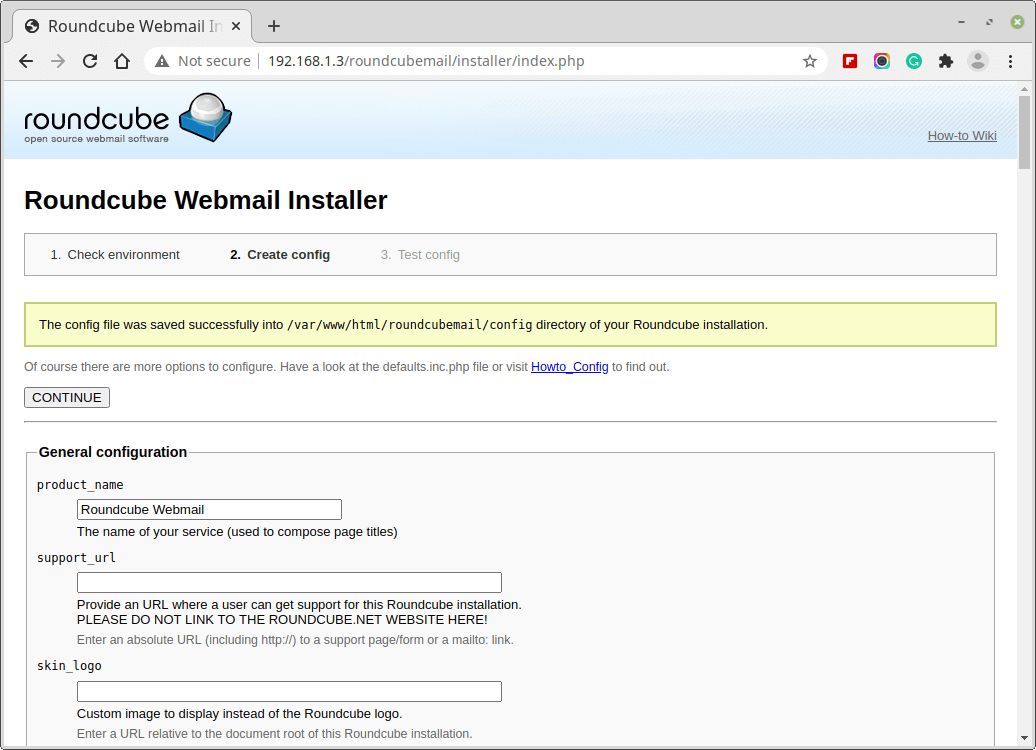
17. After making all the changes, create a config.inc.php file.
18. After finishing the installation and the final tests please delete the installer folder and make sure that enable_installer option in config.inc.php is disabled.
19. Now go to the login page and enter the username and password of the user.
Step 8: Creating Mail Users
20. In order to start using roundcube webmail, you will have to create a new user, to do this, run.
replace “myusername” with whatever username you want, create a password for the new user by running.
21. Now go back to the login page and enter the username and password of the newly created user.
have you tried to create an email server before? how did it go? have you used roundcube or any other mail server before? what do you think about it?