mail merge is the most efficient way to personalize your emails at scale. Fortunately, constant contact makes both mass importing your contacts and customizing your emails extremely easy. better yet, constant contact offers a few ways to successfully complete this process so you can choose the method that fits your needs.
In this post, you can learn how to merge mail with constant contact quickly and smoothly.
before we start…
If you just signed up for Constant Contact, there are a few quick and easy steps you’ll need to take before importing contacts.
First, verify your email address. Upon registration, Constant Contact will send you an email to confirm the email address from which you will send emails.
Second, you’ll need to add your physical mailing address. By law, you are required to do this1
Note that constant contact won’t allow you to send a single email until these tasks are complete, so it’s good to eliminate them first.
import your contacts
add custom fields (optional)
Before you upload your email contacts and all of their corresponding information (first name, last name, phone number, etc.), check to see if you have any information about your contacts that the constant contact doesn’t already have in a by field. The fields that the constant contact has by default include:
- email address
- name
- surname
- company
- telephone – address
- phone – work
- phone – mobile
- street address line 1
- street address line 2
- city
- state/province
- zip code
- country
- birthday
- anniversary
- position
- website
- tags
- notes
li>
Most companies do not request any information from subscribers that is not included in the list above. however, in some cases, you may have other subscriber information that you want to upload with your email addresses. Fortunately, Constant Contact allows you to create custom fields for this type of information. While Constant Contact isn’t a CRM, features like this make managing your contacts a lot easier.
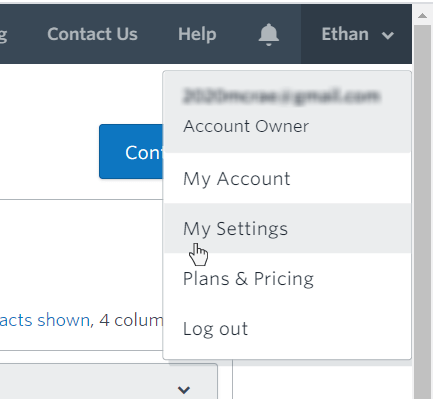
To add custom fields, click your account settings in the top right corner.
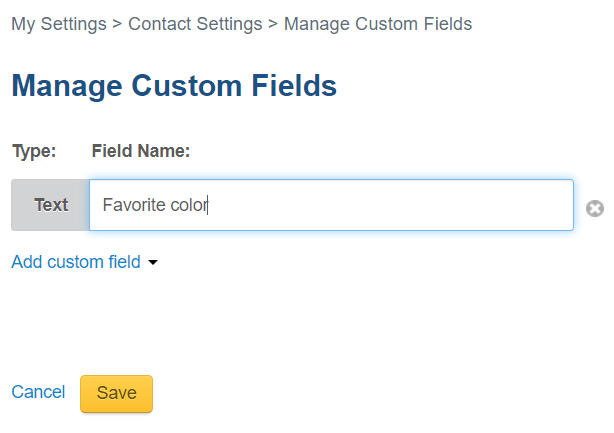
click manage custom fields.

from here you can add any custom fields you want. for this demo, we will add “favorite color”. click save when finished.
preparing the spreadsheet for import
constant contact allows you to import a variety of different file formats including .xls, .xlsx, .vcf, .csv, .txt. excel (.xlsx) files tend to be more familiar and easier to use for most professionals.
When importing an excel file, make sure you have your contacts listed in rows and their corresponding information in columns like this:
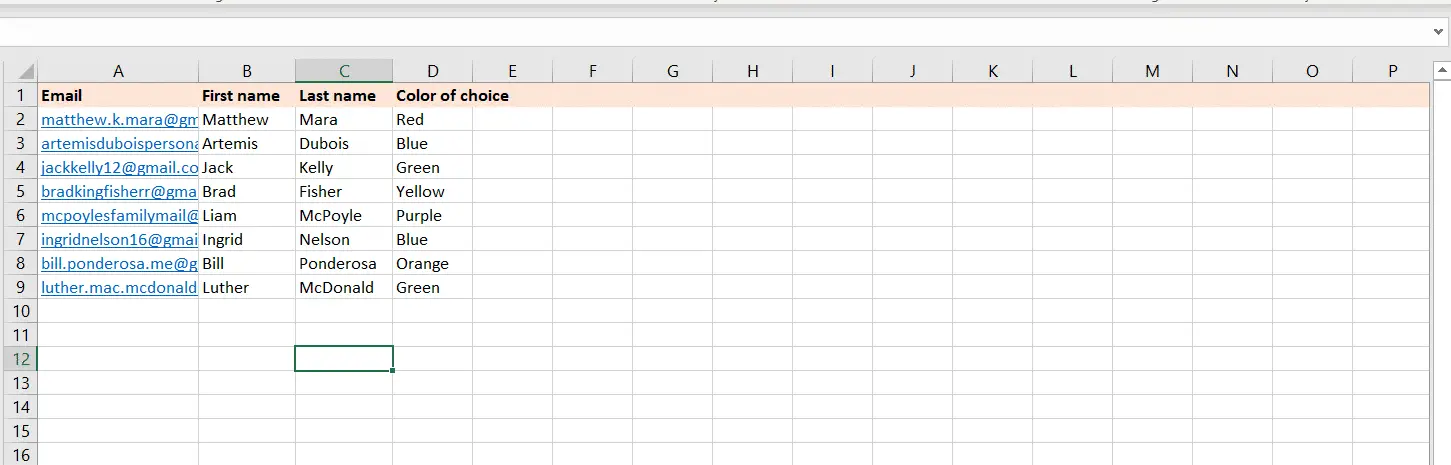
It is not necessary to label the columns as shown in the image above.
save your file when done.
import subscribers in constant contact
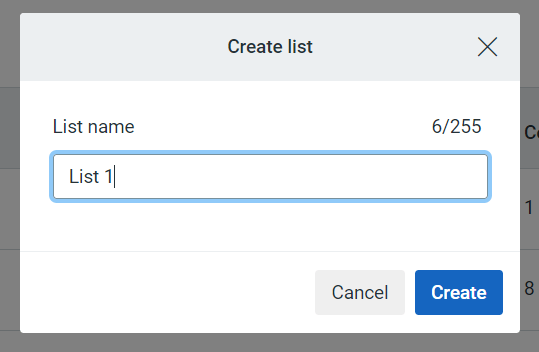
once you’re ready to import your contacts, sign in to constant contact and go to contacts in the top menu. click create list.

From here you will be prompted to name your list. this name will be for internal use only. for this demo, we’ll call our list “list 1”.
Once you’ve named your list, click add contacts and then load from file.
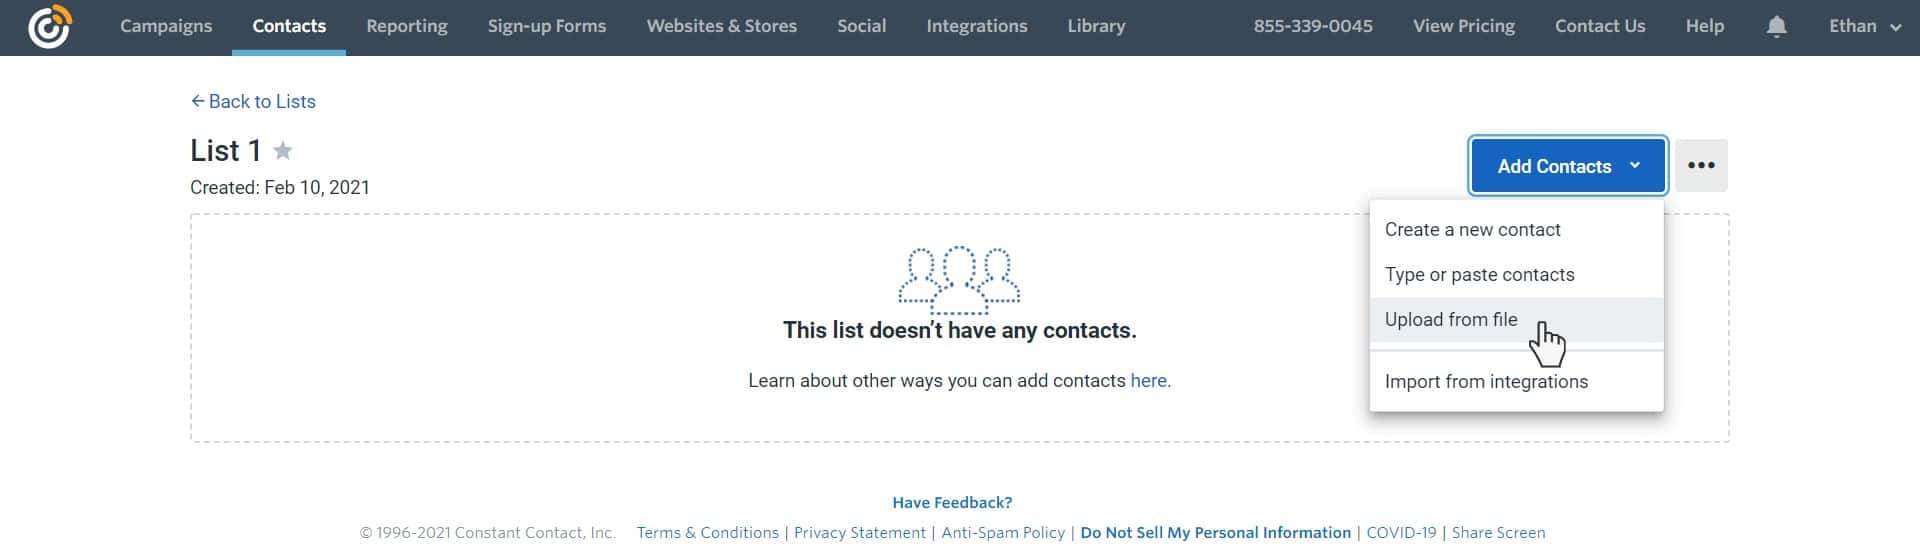
drag and drop your files into the gray area or upload your file from your computer.
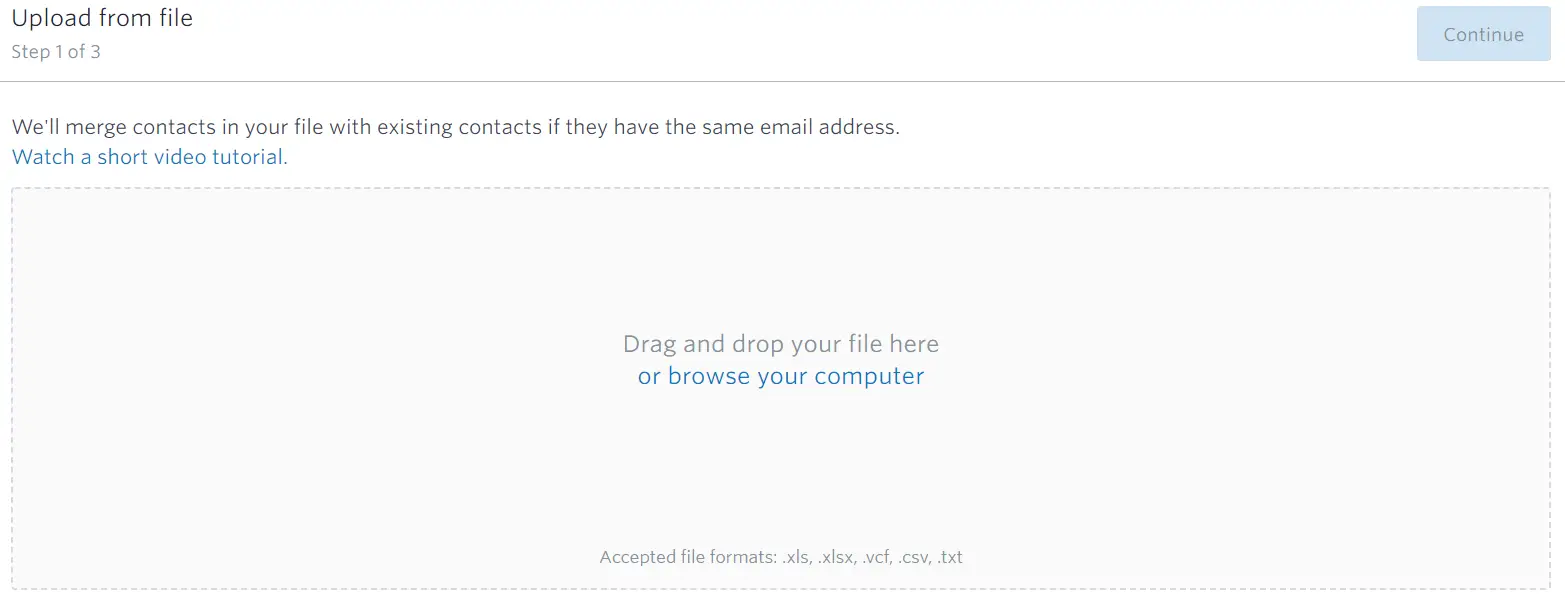
once uploaded, click the continue button.
At this point, your email contacts and information will be imported successfully. If you have labeled your columns in excel with the name of the constant contact field names (such as email address, first name, last name, in this example), constant contact will automatically match your columns with field names. very good, huh?
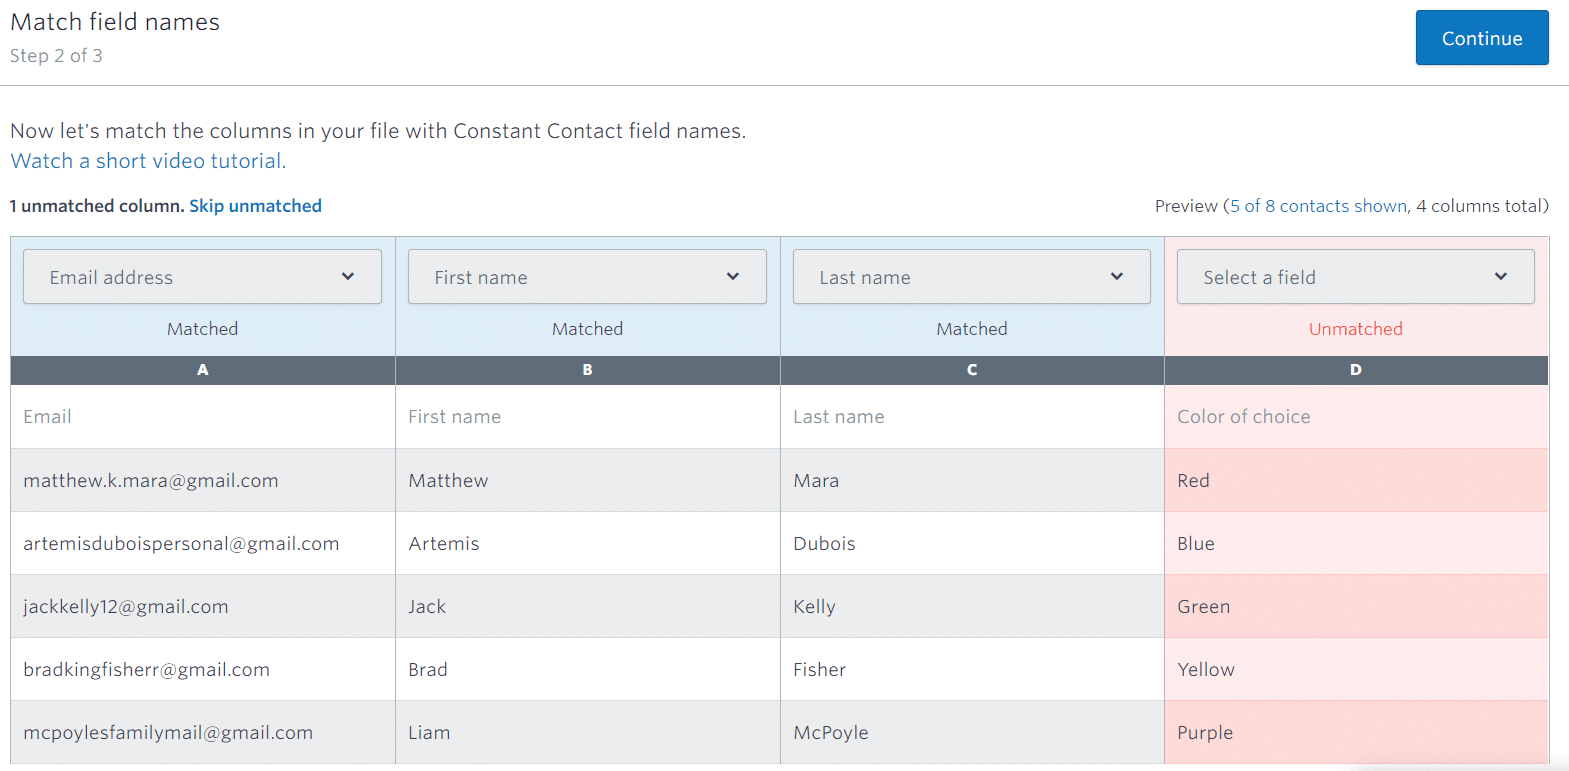
If you haven’t tagged your columns in excel with the fields in constant contact, you may need to manually match your columns to your field name. constant touch will indicate that certain columns do not match by highlighting them in red, such as the column on the far right in the image above. in this case, you will need to manually select a field from the dropdown menu. for our example, the field we want to choose is “favorite color”.
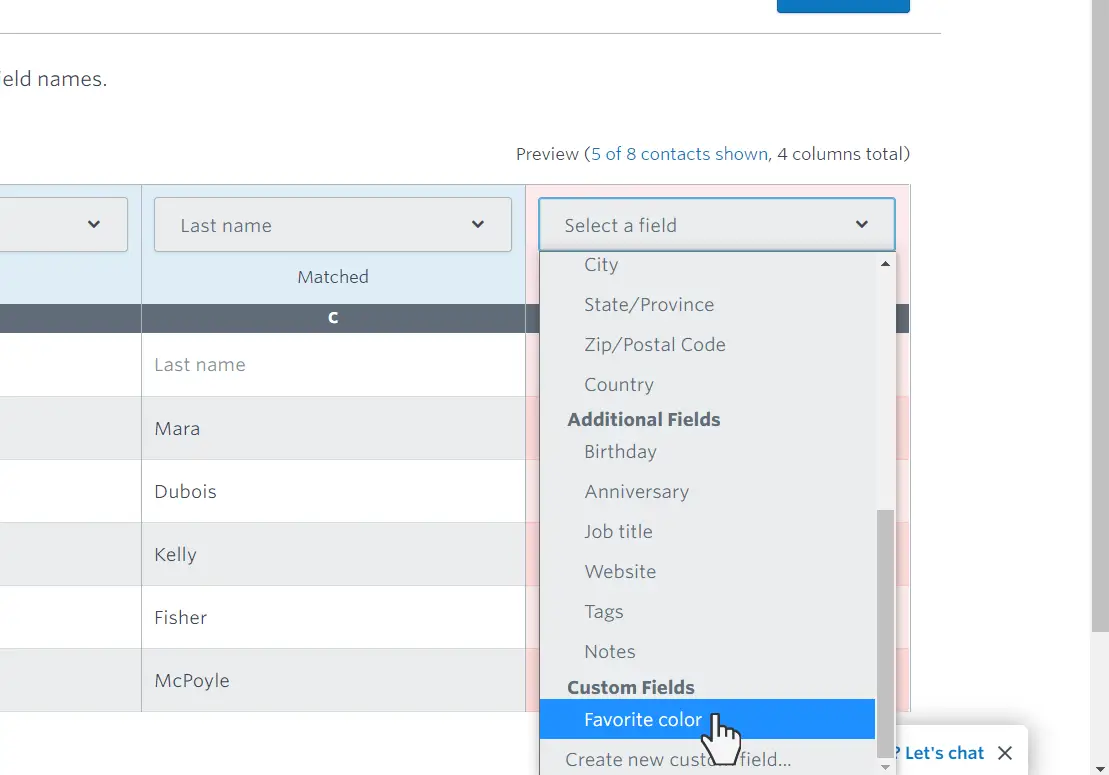
once your columns match, click continue to move on to the next step.
From here, you will be prompted to add the contacts you just uploaded to an existing email list if you wish.
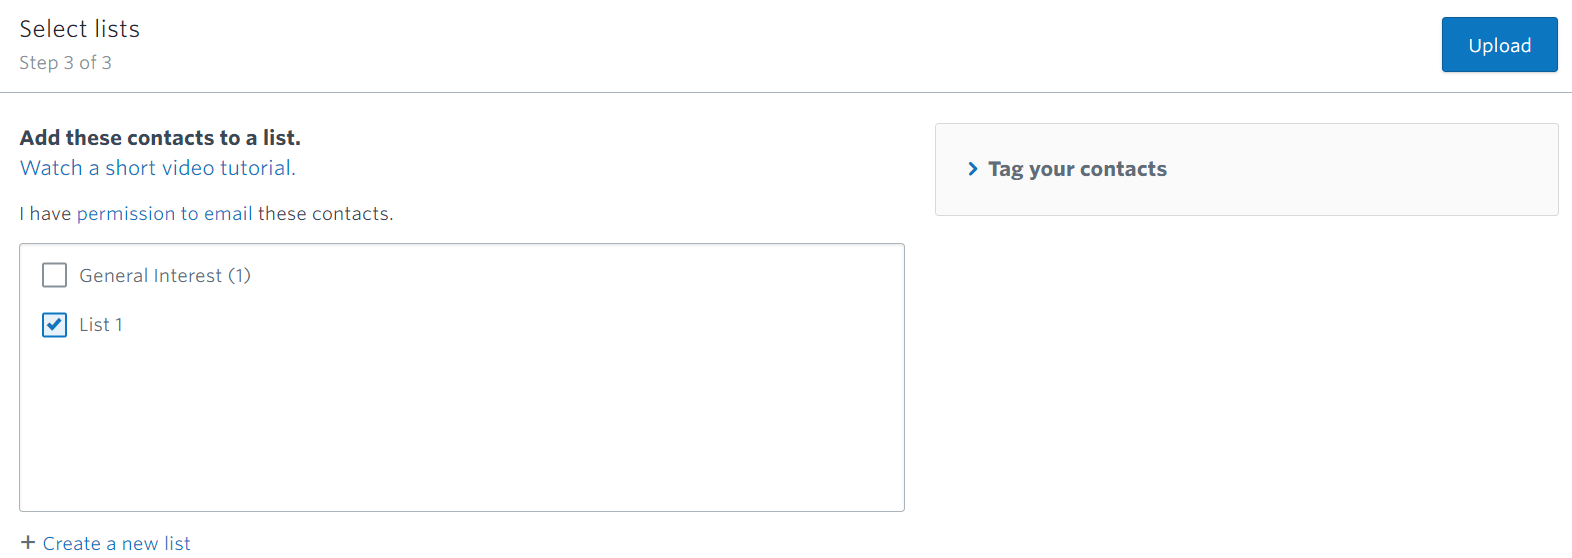
simply click the checkbox next to any other list you want to add these contacts to. In addition, you can tag your contacts. Tagging is simply a way to add attributes to contacts to more effectively categorize them.
once finished, click upload.
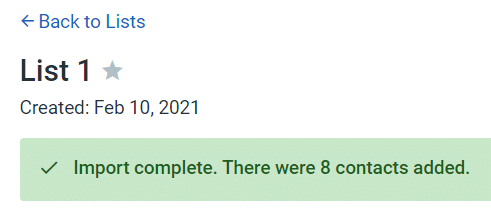
Now you are ready to start sending emails to your subscribers!
personalization of your emails
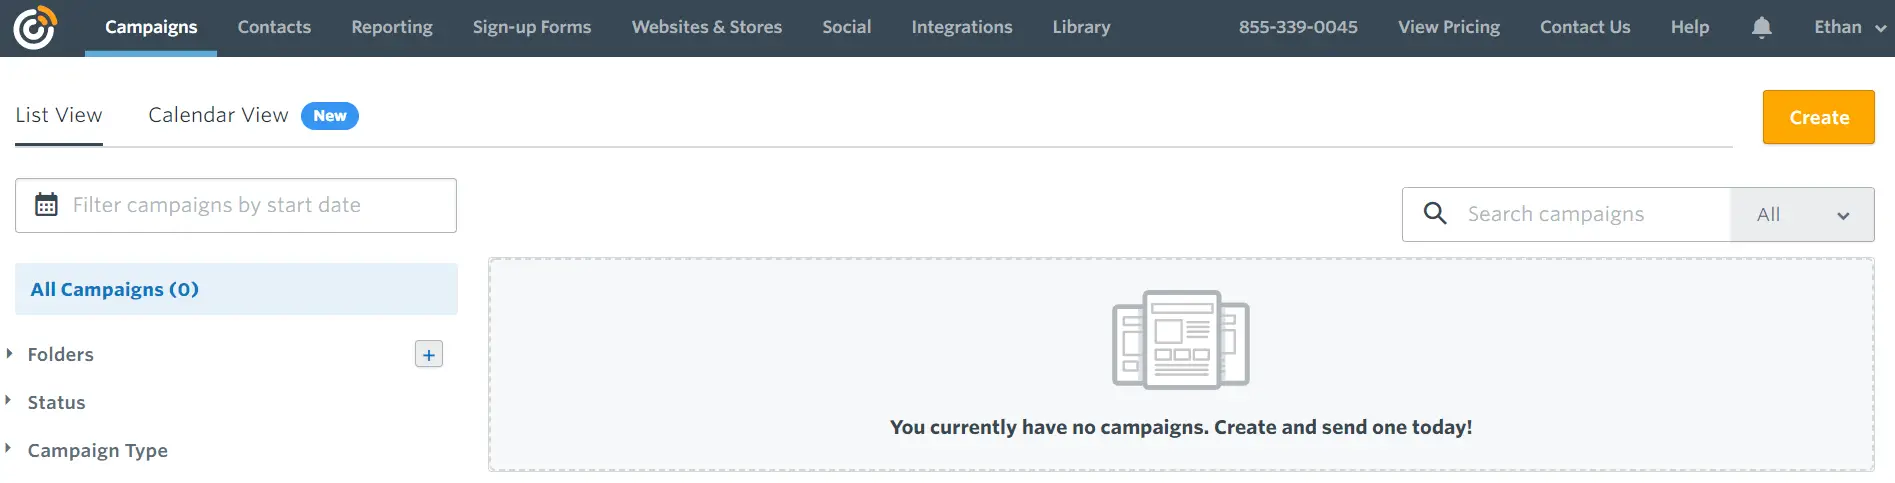
Once you’ve uploaded your list, you can now use your subscriber information to personalize your emails at scale.
To get started, click campaigns in the top menu and click the orange create button on the far right.
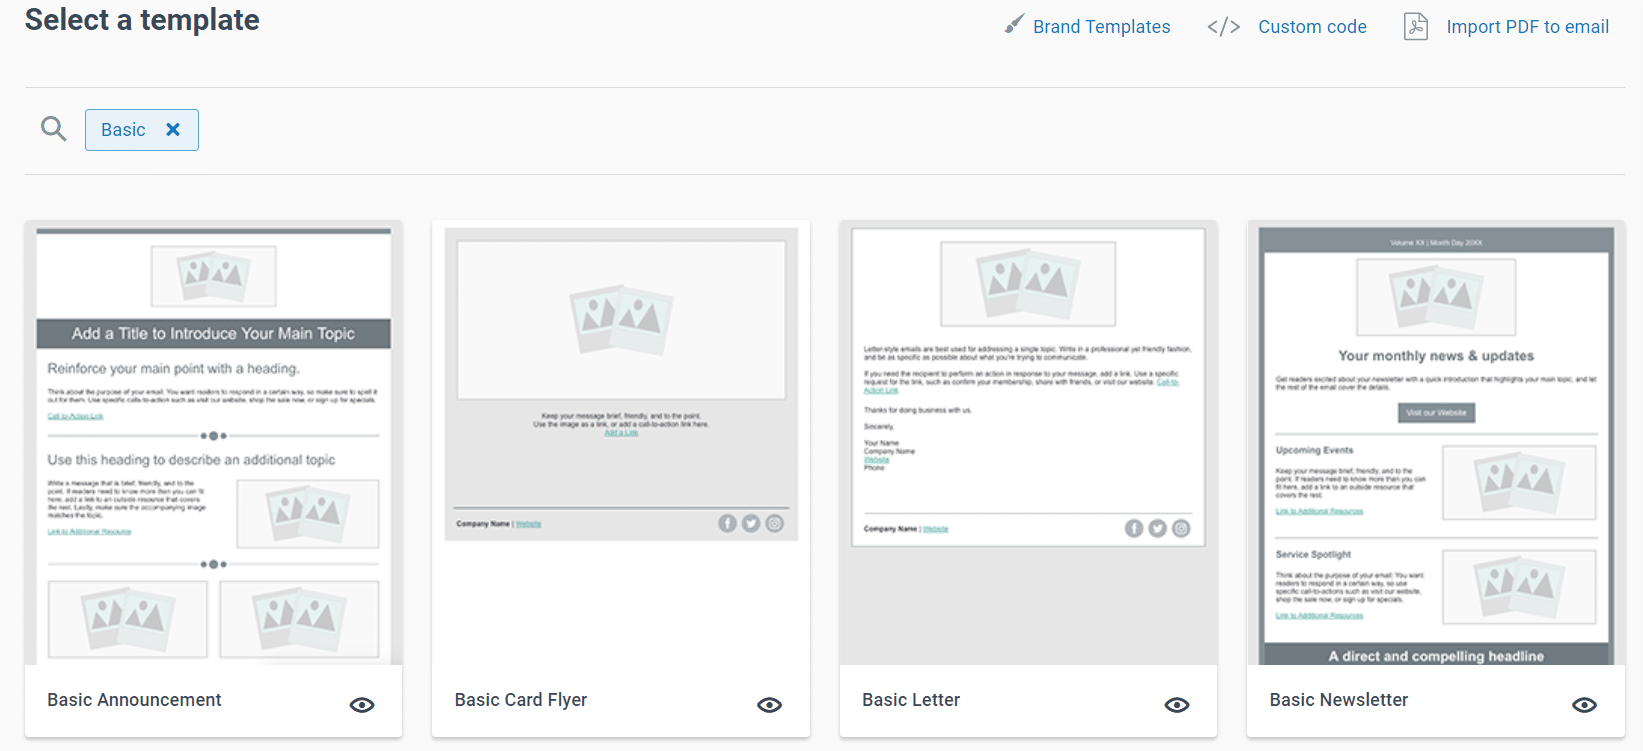
You’ll be presented with a variety of campaigns to get you started from social posts to landing pages. click email to create an email.
From here, select a template of your choice based on your goals.
once you select a template, you will be taken to the email editor where you can create your email. As you write your copy for your email, you can add fields wherever you like to personalize your emails. for example, to add the name field for your contacts, click the place in your text where you want to insert the name of your subscribers.
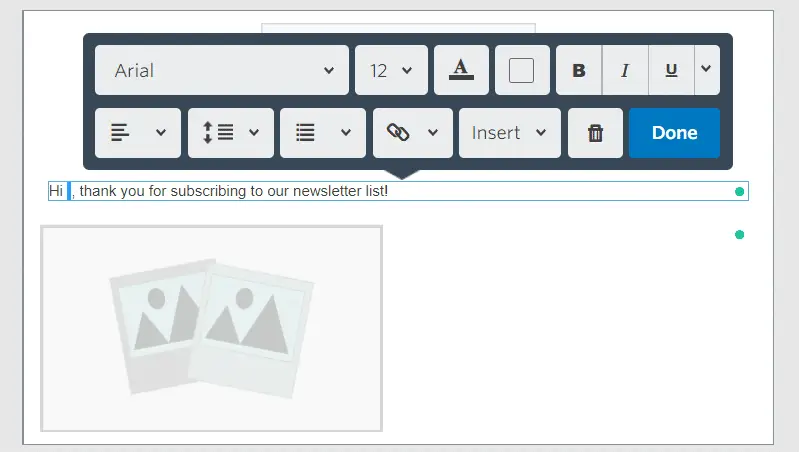
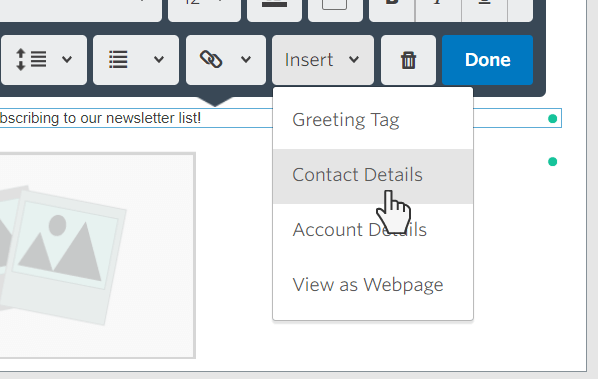
click insert and then contact details.
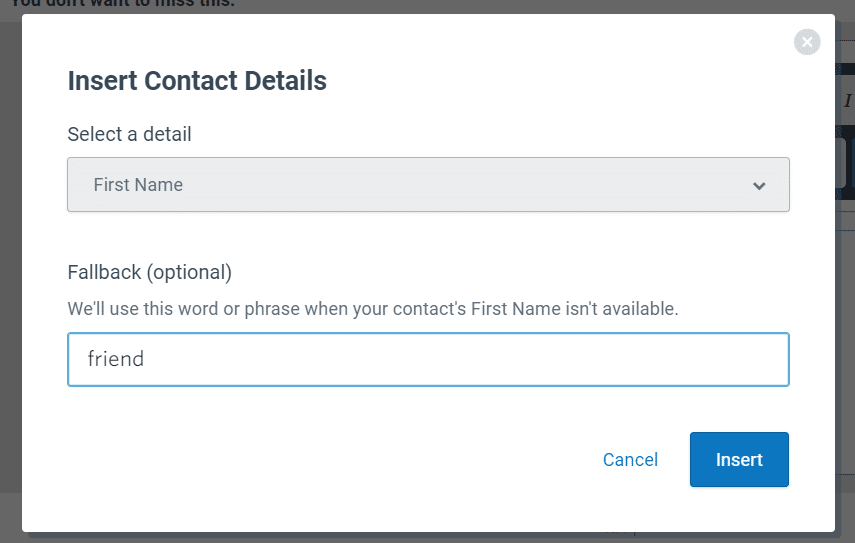
select name detail. If you don’t have information about all of your contacts, you may want to consider adding an alternative detail as well. an alternative detail will be used if the name detail is not available for certain contacts. for this example, we’ll use “friend” as the fallback option.
click insert and then done.
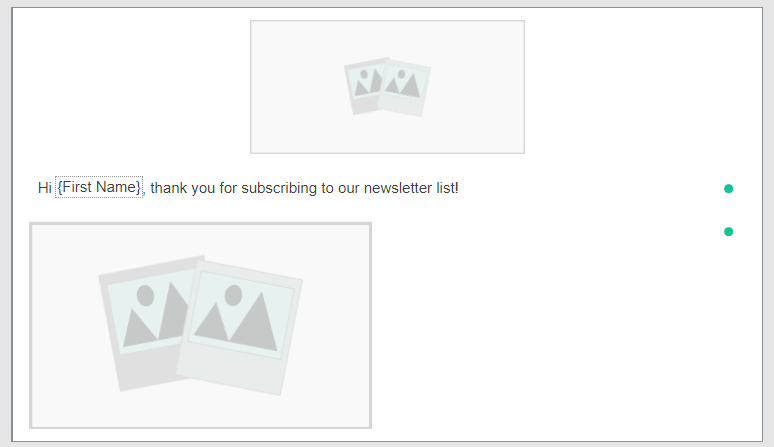
At this point, you have successfully personalized your email. when you send this email, the constant contact will auto-populate the name field with the name of each email subscriber.
click continue and then send now when you are ready to send.
final words
Are you concerned that personalization fields may not work properly? To test Constant Contact customization, you can always send a test email to a personal email account. Once you’re sure you’ve set up your campaign correctly, you can feel more confident sending personalized emails to large lists.
although constant contact is not a crm, being able to personalize emails at scale makes management easier.
- https://odinlaw.com/legal-basics-of-email-marketing-in-the-us/