apple mail (sometimes called mac mail) provides a simple interface where you can create and edit a simple email signature for yourself. If you’re looking for instructions on how to add an image like a photo or logo to your email signature, we’ve got a step-by-step guide to get you there.
The default apple email signature editor can be frustrating to create anything but the simplest of email signatures. If you’re looking for a more robust tool that can help you create a beautiful email signature that can make you and your organization look more professional, I recommend checking out the editor and pre-made templates at signature.email.
here is a step by step guide on how to add an image to your email signature in apple mail:
-
open the mail app on your mac, from the top left system menu select mail > preferences.
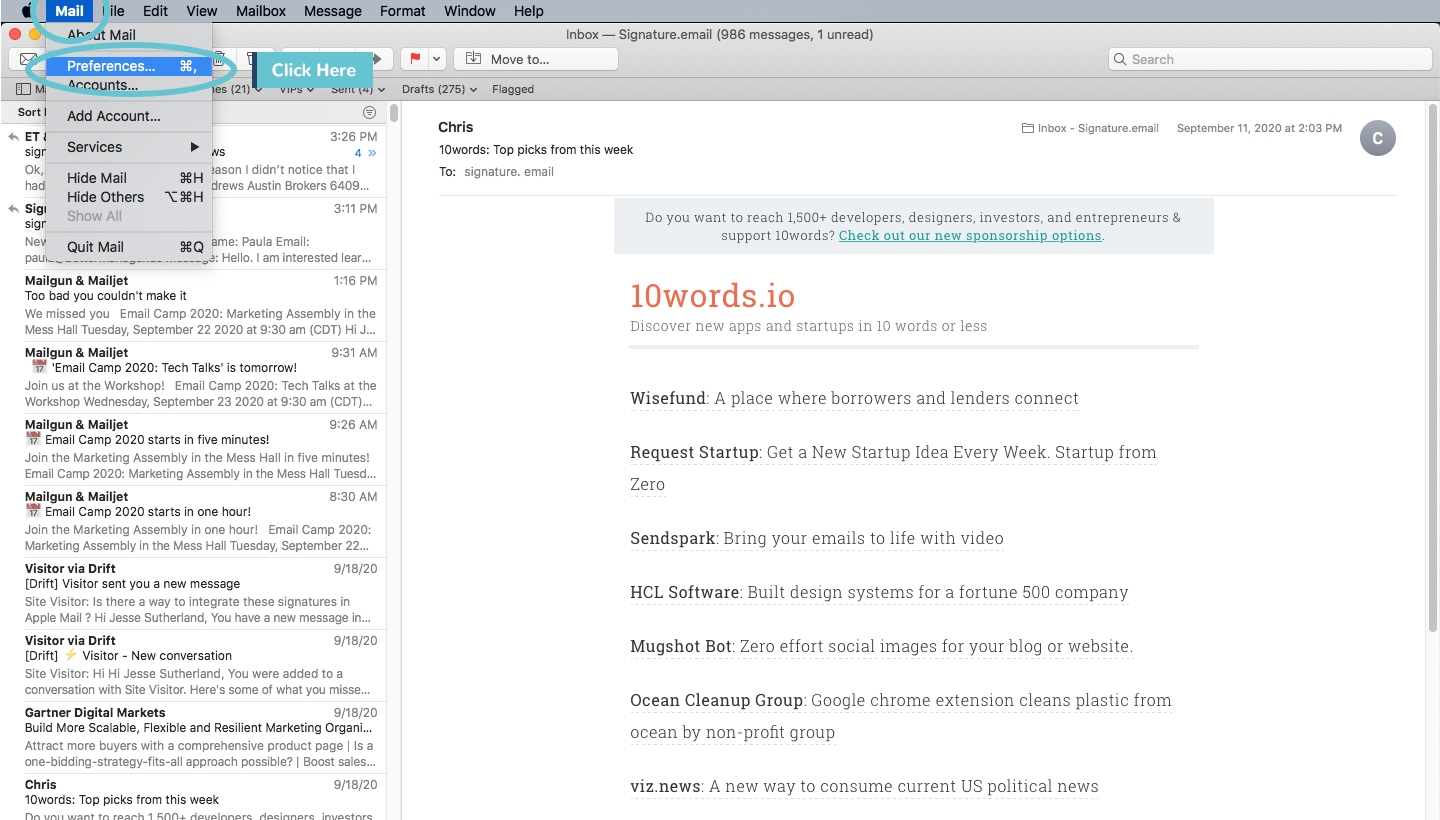
When the preferences window is open, find the tabs at the top and click signatures.

In the left column, select the email account where you want to use the signature.

Choose an existing signature to add or click the plus button below the center column to create a new one.
Make sure to uncheck the always match my default message font box. if you don’t do this, the signature will be pasted as “plain text”. this means that all styles and formatting will be removed, leaving only the text of the email.

Add a line in your signature to create an opening where you want the image to be added.

On your computer (using the browser) find the image you want to add to your signature.
apple mail signature will not resize your image for you! we recommend adding images that are fairly small, ideally less than 100kb. if your image is larger this will be a problem and could prevent it from being received. If you have a program you’re familiar with for resizing images, use that. if not, you can open the image in the preview app and go to tools > adjust the size and try one of the smaller sizes.

when your photo or logo is ready to be added. drag it from the finder to the signature editor window where you made room for it. that is all! added your image, you can close the signature editor and test it.

When composing a message, if you still don’t see your signature, look at the dropdown near the top right to choose from a list of your signatures. selecting a new one will apply that signature to the email.

If you’re looking for a longer article that includes what types of images to add, what dimensions to use, and the benefits of various approaches, read our guide to email signature images.