Want to create an email newsletter in WordPress?
If you have an email list, don’t sit on it! You could skyrocket your sales by engaging your prospects and inviting them back to your website through email marketing.
In this tutorial, we’ll show you exactly how to create an email newsletter so they can you can start growing your business online.
Why do you need a newsletter?
Newsletters play an important role as a lead nurturing strategy. If you’re going to all that effort to produce valuable content on your site, your subscribers deserve to read it. Newsletters make sure that the right audience finds your posts via email.
So if you want to make sure that the content on your blog and site attracts recurring traffic, don’t ignore sending newsletters to your subscribers.
How do you create a successful newsletter?
Wondering how I can make my newsletter stand out? There are countless email marketing guides out there that contain tons of great details on how to create a successful newsletter.
Getting people to sign up for your newsletter is just the beginning. You’ll want to do some planning before putting together your first successful newsletter.
Here are some basic tips to get you started:
- Define Your Audience: ask yourself who your target audience is and what their needs are. If you don’t already know, consider creating a survey form to find out.
- Set your goals: Just want more traffic? To attract readers? Are you preparing for a seasonal sale? Once you decide what you want to get out of your email campaigns, you can decide what type of content to create and send.
- Choose the frequency: Marketing emails can be annoying if they are sent too often. Decide how often you will send emails to your list, be it weekly, monthly, quarterly, etc.
- Gather your best content: You don’t have to start from scratch with your newsletter. Make a list of the most useful content on your site and create an editorial calendar around those posts to win readers over with your good advice.
- Use emojis in subject lines: If it matches your tone, try using emojis in your subject lines. Subject lines have a huge impact on your open rate, so give them lots of love and research.
- Write carefully: Regardless of whether your email recipients are new leads or existing customers, your newsletter should be a well-crafted piece of content. Check for typos and use a conversational tone.
- Use calls to action: Make sure your emails include calls to action. That is, ask the reader to do something like click a link or button that says ‘Click here for more details’. Calls to action are how you’ll convert readers into customers and bring them back to your website.
Now that you have an idea of how to create a successful newsletter, let’s dive deeper. in our tutorial on how to create an email newsletter.
How to create an email newsletter (step by step)
There are a lot of different newsletter plugins available for WordPress. For this tutorial, we’ll be using The Newsletter Plugin, which is one of the most popular ways to create a newsletter for small businesses and bloggers in WordPress.
Step 1: Install and configure the Newsletter plugin
In your WordPress dashboard, click Plugins » Add New. Then type “newsletter plugin” in the search field. You can choose any newsletter plugin of your choice, but we are going to install Newsletter as shown below.

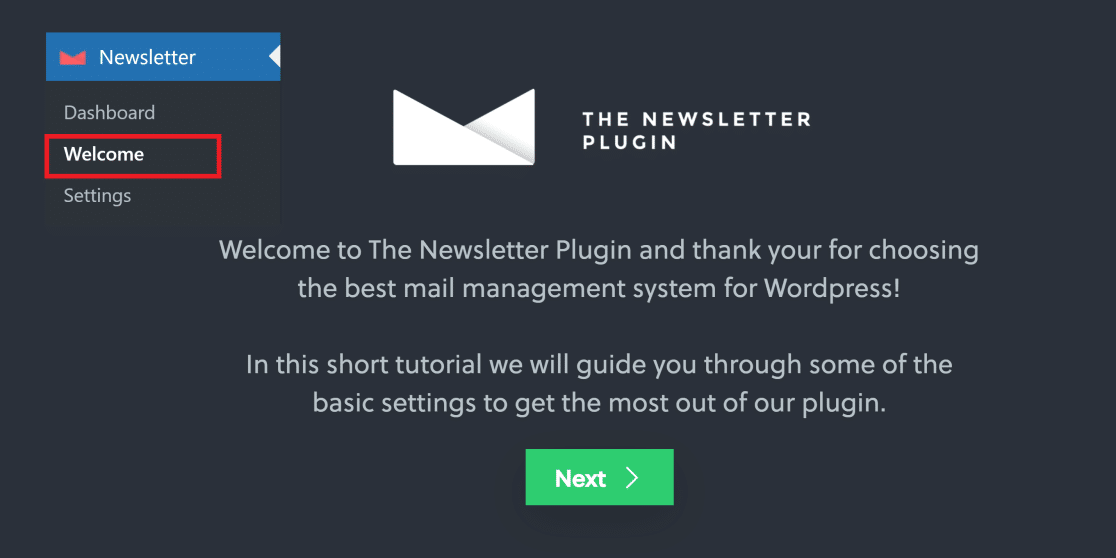
After installing the plugin, the Install Now will change to Activate. Press it to activate the plugin, which will then take you to the newsletter setup wizard. You can also manually start setup by clicking Newsletter » Welcome.
Then click Next to start setup.
First things All you will need to do is provide your sender name and email address. We’ve used an email address on a subdomain, but you can use your standard email address here. Click Next when you have entered the sender information.

On the next screen, you can use the toggles to choose what you’d like to include in your subscription form (besides the email address ). Press Next when you’re done.

The newsletter will now automatically create a signup page on your site, containing a form with the fields you chose in the previous step. Forms Forms created with the newsletter plugin are extremely basic and customizing them isn’t as easy as it is with some form builders.
If you want more customization options when editing your forms, WPForms is a much better solution. integrate WPForms with The Newsletter Plugin if you upgrade the latter to premium.
In the next step, you can perform some tests to ensure that emails are being sent correctly from your site.Provide the email address of test and click onSend a test message.
You will receive a browser prompt to confirm message delivery.Press Next to continue.
N Note: It may take a few minutes for the test email to arrive in your inbox.

When you’ve received the email, it’s time to start creating your newsletter.
Step 2: Create a newsletter
Now, click on Newsletter » Control Panel. From this screen, hover over the Newsletters tab and press Create Newsletter.

Now, you will see different newsletter templates. Pick one that best matches your newsletter goals. We are going to use the Latest news from your blog template.

On the next screen, you can edit your actual newsletter using a simple drag and drop interface. You can write the email subject line and add elements like social icons, recent blog posts, calls to action, images, and more by placing blocks within the editor.
When your newsletter looks the way you want it to , click Nextat the bottom right of the screen.

On this screen, you can use the send options to choose the email list (if you have several) to which you want to send the newsletter and also Segment your subscribers based on gender. The Advanced offers some additional options, such as choosing whether to track email opens and clicks, and changing the email or sender name.
When you have reviewed the settings, click Send now if you want to send the newsletter immediately. You can also press the Schedule button if you want to send it later.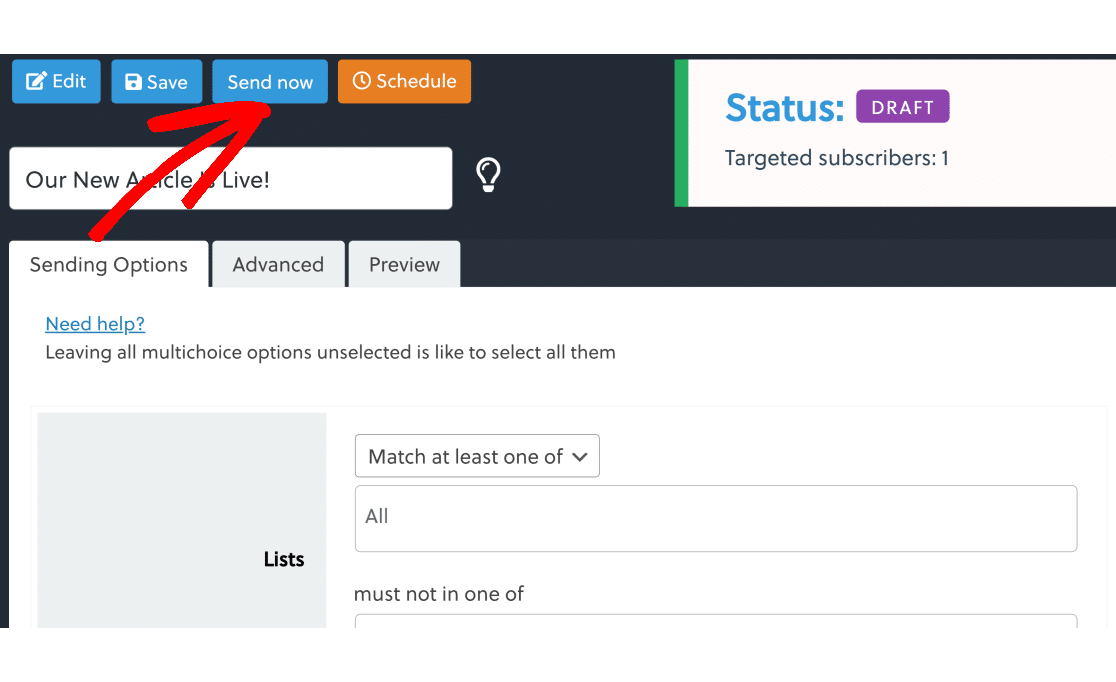
When the newsletter has been uploaded, the status will be Submitted.

Next, we’ll see how to view your newsletter open and click rate.
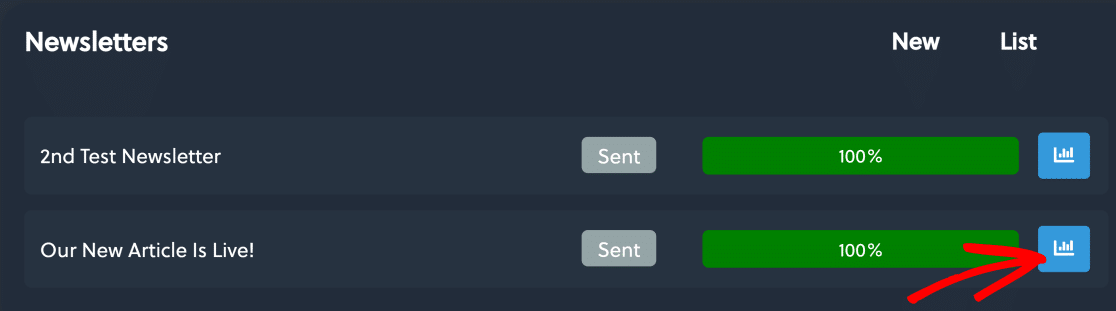
Step 3: Track Email Statistics
Go to Newsletter » Dashboard and in the Newsletter section, click the bar chart icon next to the newsletter whose statistics you want to see.
On this screen, you will find data for:
- Reach: The number of people who received the newsletter
- Opens: The proportion of recipients who opened your newsletter
- Clicks: The proportion of recipients who clicked on your newsletter.
![]()
With this data, you can monitor the actual performance of different newsletters with different subject lines. This is great for experimenting and improving your subject lines for better open and click rates.
While the newsletter plugin is great for tracking your newsletter emails, it can’t track other types of emails (such as email requests) that you are sending from your WordPress site.
If you want to track your emails across all sources on your WordPress site, see the steps below to learn how.
WP Mail SMTP for email tracking

WP Mail SMTP is an email plugin that fixes WordPress email delivery issues. Even better, the Pro version allows you to keep track of all your outgoing WordPress emails (including newsletters), and also tracks opens and clicks on all emails.
So, if you want to track emails across all your WordPress plugins and view statistics in one dashboard, WP Mail SMTP is the best solution.
Install WP Mail SMTP
To get email tracking with WP Mail SMTP, you first need a WP Mail SMTP Pro or higher license. This is because the email tracking feature is not supported on lower tier plans.

When you have purchased the plan, go ahead and install WP Mail SMTP on your site. If you need help setting it up, check out these instructions for installing WP Mail SMTP.
Once you’ve installed WP Mail SMTP and activated it on your site, you’ll be taken to the setup wizard. For help configuring the plugin, check out this document on how to use the WP Mail SMTP setup wizard. It will help you connect your site to a mail like SendLayer.
When WP Mail SMTP has been installed and configured correctly on your site, go to the next step.
Enable Email Logging, Open Tracking, and Click Tracking
Once you have installed WP Mail SMTP on your site, you can enable email tracking to track clicks and opens for each email newsletter you’ve sent to your subscribers.
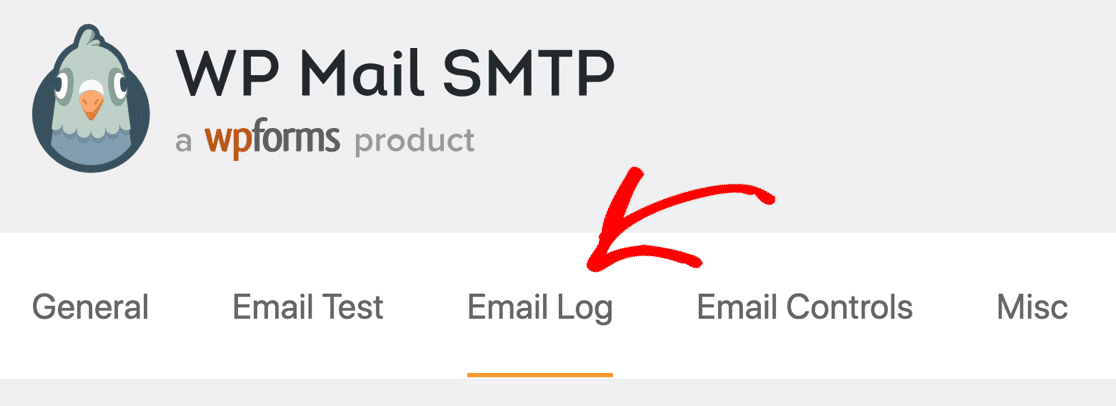
To enable email tracking, go to WP Mail SMTP » Settings.

Then, click the Email Logging tab in the navigation below the WP Mail SMTP logo.
On this screen, click Enable Logging to expand the list of tracking options.
Now scroll down and make sure both settings are enabled:
- Email Open Tracking: With this tracking feature, you can see how many times your newsletters were opened by recipients email.
- Link click tracking: Enable this to see which links within your newsletters users clicked on.
![]()
Click Save settingsafter enabling these features.
To view statistics Open and click statistics of your newsletters, click WP Mail SMTP » Email Reports.

You will now see a panel showing all your emails emails by subject lines along with the open and click count for each.

Th This is what makes WP Mail SMTP so special because whether you’re sending newsletters, email confirmation emails, orders, any other automated messages or all of these, you can track all your sent emails.
In addition, you can also view additional details for each newsletter, such as the recipient and whether they opened it, the delivery status, the number of attachments and more.

In the next step, we’ll see how to resend emails that failed delivery.
Forwarding Newsletters in WordPress
Now that you can track the status of each of your newsletters, you can easily find out if your newsletter was not delivered to some recipients.
In that case, WP Mail SMTP allows you to forward your newsletter with a single click.
To do this, first go to WP Mail SMTP » Email Registration.
strong>

Now, hover over the email you want to forward and click View Log.

Now, click Forward.

You will now receive a prompt where you can edit the email address before confirming the forwarding. It’s a good idea to verify the email address because an incorrect email address is one of the main causes of undeliverable newsletters.
When you’ve verified everything and are satisfied, click Yes to resend your newsletter.
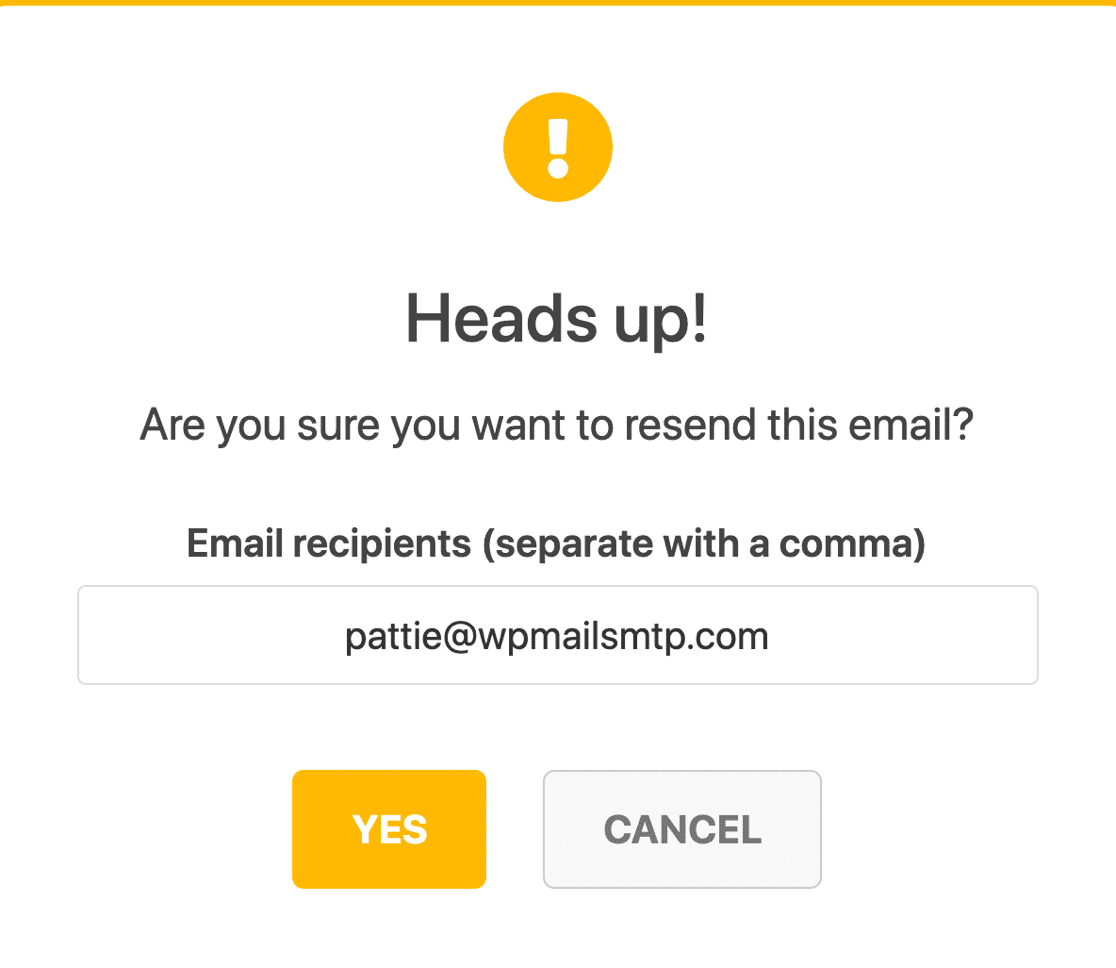
WP Mail SMTP will now attempt a second delivery. If the email address is correct and you’ve set everything up correctly, it should reach the intended recipient instantly.
WP Mail SMTP is great for troubleshooting general delivery issues on your WordPress site.For example, if you are having problems with WooCommerce, you can count on WP Mail SMTP to solve your WooCommerce email sending problems.
And there you have it! Now you can create email newsletters in WordPress and track clicks to get better insight into your email campaigns!
Next, do more with email automation
Next, if you’re interested in using email automation, check out our guide to creating a SendFox WordPress form.
Also, adding your email list to a popup is one of the the best ways to make it grow quickly. Check out our post on the best WordPress popup plugins to find one that works for you.
Create Your WordPress Form Now
Ready to create your form? Get started with the easiest WordPress form builder plugin today. WPForms Pro includes many free templates and offers a 14-day money-back guarantee.
If this article helped you, please follow us on Facebook and Twitter for more free WordPress tutorials and guides.
.