Setting up your email in gmail using an android device is easy and you will be able to send and receive emails on the go.
Regardless of what device you use, gmail is usually installed by default. If you don’t have gmail installed, you can download it for free from the google play store.
Guides for setting up email on other types of devices can be found here.
how do i add my kcom email account?
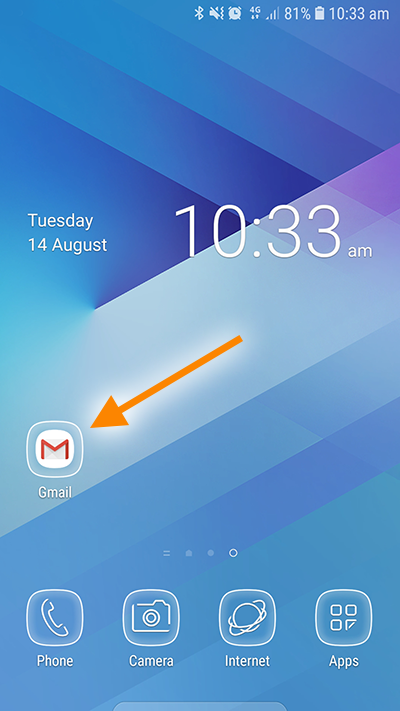
- From the home screen on your device, tap on Gmail.
- Is this is the first time you’re setting up Gmail? If so, follow the steps below. If not, skip to Step 3.
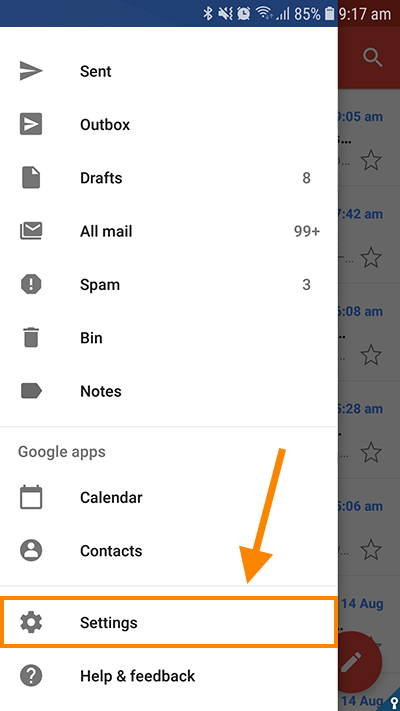
- Tap on the menu button at the top left of the screen, scroll down and then tap on Settings.
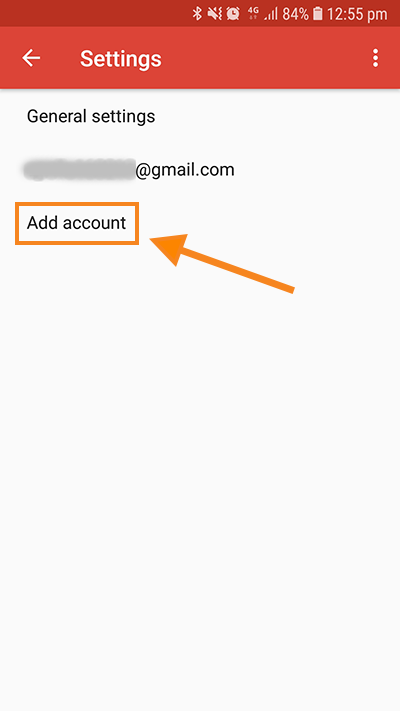
- Now tap on Add Account.
- Tap on the menu button at the top left of the screen, scroll down and then tap on Settings.
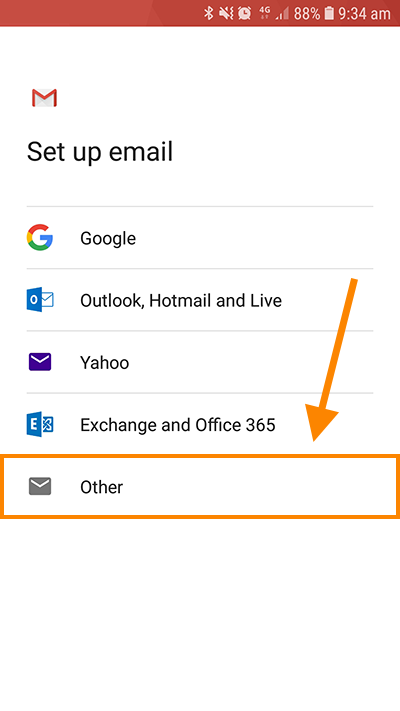
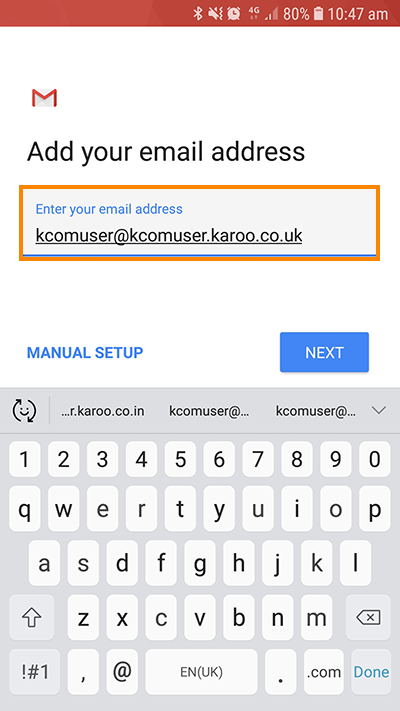
- Type in your KCOM email address and then tap on Next.
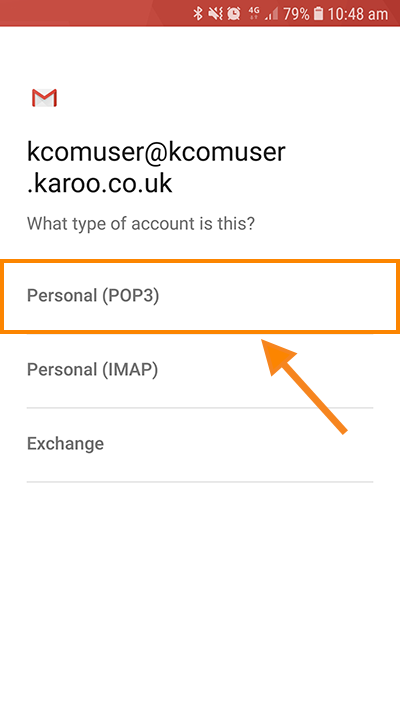
- On this screen, you’ll need to select either Personal POP3 or Personal IMAP. We recommend you choose POP but the choice is yours.
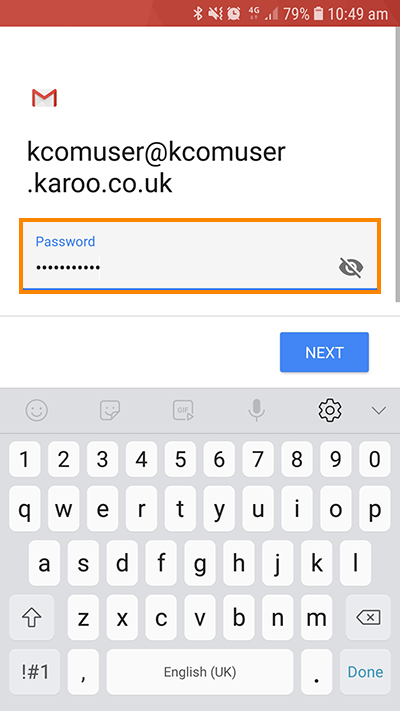
- Once you’ve chosen the type of account you want to setup, you need to type in your KCOM email password, then tap Next.
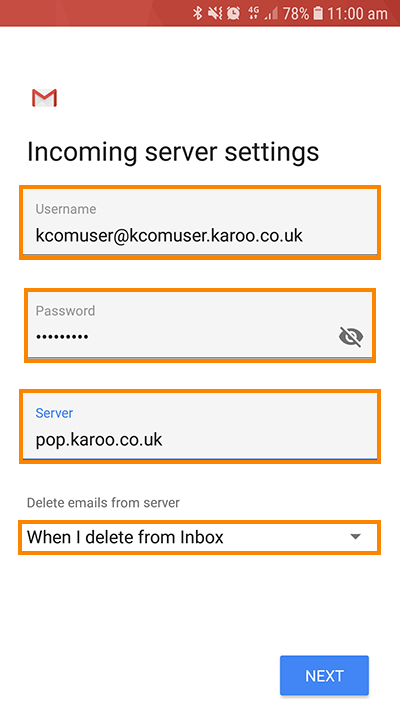
- Now you need to fill in some settings. Make sure the username is your full KCOM email address, then type in your password if it’s not already filled in. For Server, type in pop.karoo.co.uk if you selected POP earlier, or imap.karoo.co.uk if you selected IMAP. Lastly, choose whether you want emails to be deleted from the server. We recommend picking When I delete from Inbox. Tap Next when finished.
- Gmail will now try and validate the settings you filled in. This can take a few seconds.
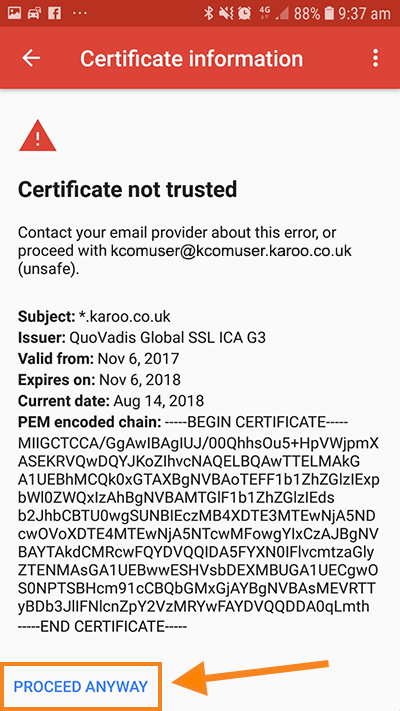
- There’s a chance here that you may see a Certificate error. If you do, scroll to the bottom and tap Proceed Anyway.
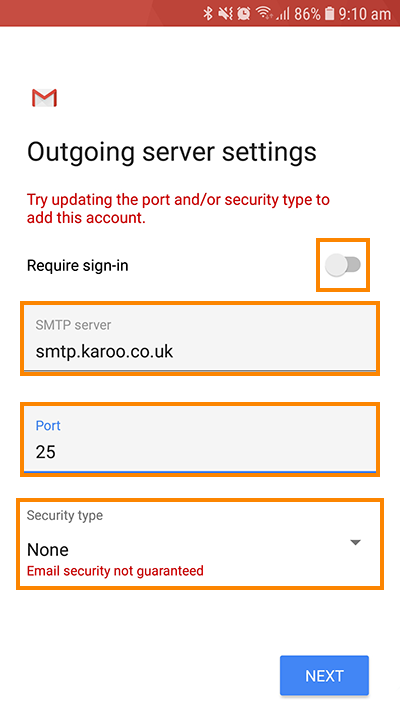
- Assuming you filled in everything correctly, you should now be asked to fill in some Outgoing server settings. Make sure Require Sign-in is switched off, then type in smtp.karoo.co.uk for the SMTP server. For the Port, type in 25 and select None for the Security type. Now tap Next.
- As before, Gmail will validate the settings you’ve filled in. This can take a few seconds.
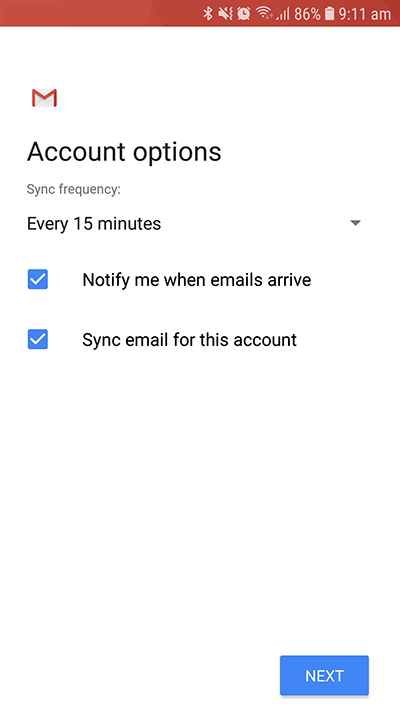
- If everything checks out, Gmail will now ask you to set a few options. This is your choice but the settings we picked are for emails to sync every 15 minutes, to be notified when emails arrive, and to sync emails for the account. Tap Next to continue.
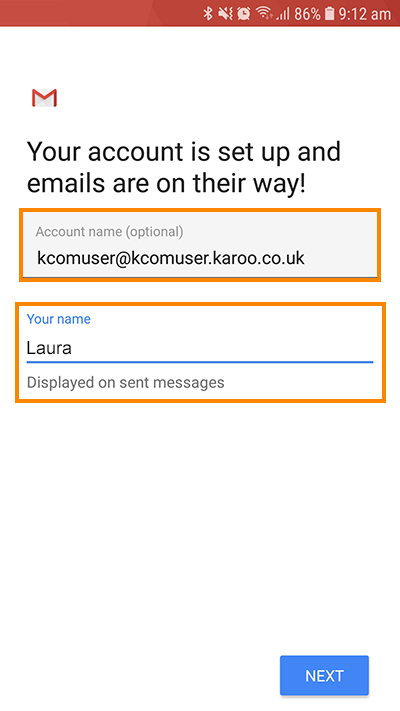
- That’s it! You’re pretty much finished. Finally, choose an account name so you know what email account this is. You could type your email address here or KCOM email. Then type in your name (this is so people know who you are when they receive your emails). Tap Next to finish the setup.
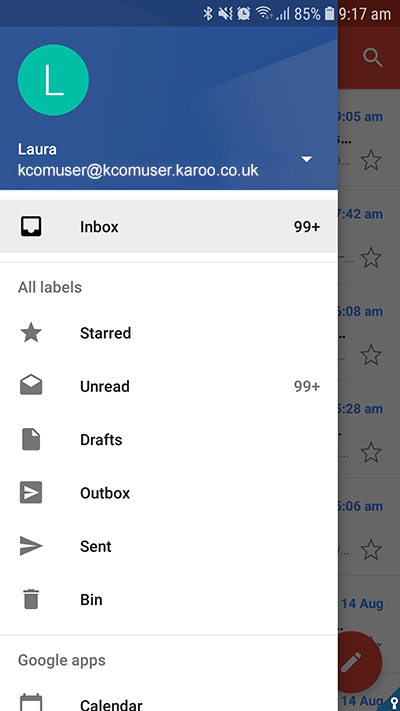
- Your account is now setup and your emails will come through automatically.
how do i use gmail to send and receive emails?
if you need a little help using gmail on your android device, check out google’s helpful guide here.
I’m having trouble sending emails, why?
If you find that you are having some problems sending emails with your smartphone, it may be due to how you connect to the internet.
If you’ve set up your email following the instructions above and you can only send email when you’re at home connected to your wi-fi, this is because you’re using our outgoing server (smtp.karoo .co.uk). this server only works if you are connected to the kcom network; either at home using your broadband or light flux, or connected to one of our free kcom wifi hotspots.
To send emails when you are using your mobile data and not connected to a wi-fi network, you will need the outgoing smtp server for your mobile network provider. you should be able to get this by contacting them.