In the modern B2B marketing world, where content is king, a company blog has become a mandatory requirement for building a successful brand. Creating a blog has never been easier, yet producing new content week after week can seem almost impossible.
When our MSP faced this same issue, my first instinct (as always) was to automate this process. I knew I could produce about 1-2 articles per month at that point, so my goal was to automatically generate filler content in between. Obviously, I didn’t want to share content from other MSPs, so I needed to find another source. It turns out that hardware and software vendors in the IT channel are producing great content for SMBs that would also be great for their customers. Adding this content to our site in the form of posts was what we needed. This is how we made it possible.
WordPress RSS Aggregation Plugin
To start syndicating content, you must first install an RSS aggregation plugin. We used WP RSS Aggregator, which was very easy to set up and had all the features we were looking for. Here is a short video preview of how this plugin works.
Importing all feed content and automatically posting it as a post is a premium feature called “Feed to Post”. You will need to purchase your “Advanced Fonts Pack” from your website before you can add fonts.
Finding RSS Feeds
Now that your plugin is installed and your license key has been activated , you can start to list feed URLs. As I mentioned earlier, we wanted to feature content produced by the tech brands our customers use every day. These were not a threat to our business, and in fact, we were a reseller of most of them, so it helped educate our customers on the products we offered (ie antivirus, productivity software, network hardware). Once you make a list of companies, you can start looking for sources. This is the easiest way to locate them.
- Go to Google and search for “[Company Name] Blog”
- On the Blog home page, search for the RSS feed icon
- If there is no icon, right-click and select “inspect”
- Once you see the html code for the site, press Ctrl+ F on your keyboard
- This opens a search bar, now type the word “feed”
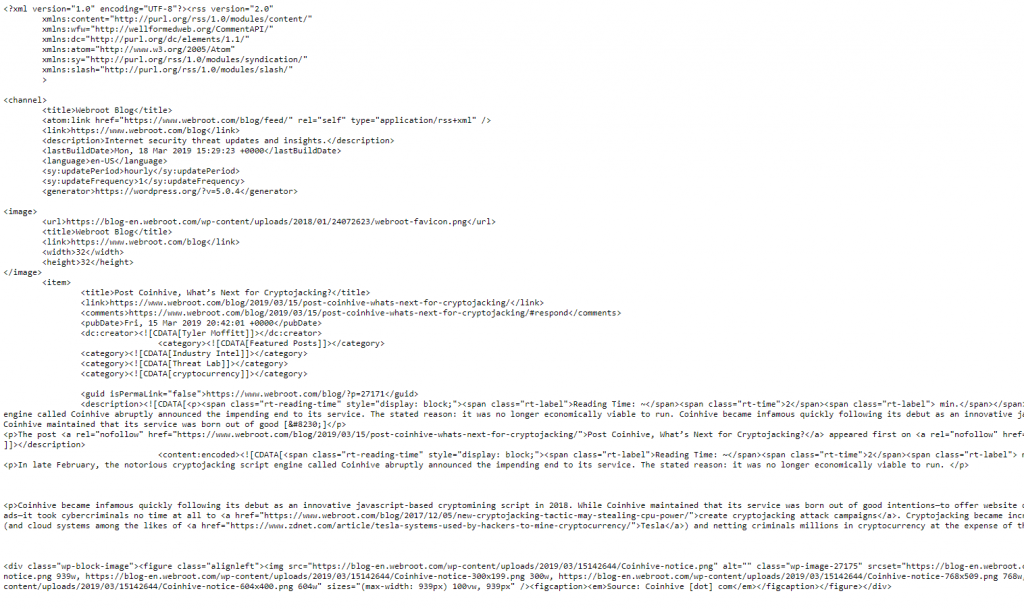
- If you see a URL with the word “feed” in it, that’s probably it. Copy it into your browser to be sure. It should look like this.

Adding RSS Feeds to Your Blog
Adding these feeds to start generating new posts is pretty simple. process. WP RSS Aggregator has an easy to follow tutorial in their knowledge base on how to do this. Your support is also helpful in case you can’t figure something out. Here are some additional tips that we recommend having gone through the process.
- Full Content – Make sure this is set to force the full content of the post and not just an excerpt.
- Content Links: RSS feeds to bypass links within the body of a post. This can be confusing for the reader at times. You can manually edit the posts to include the links if needed.
- Featured Images: Not every feed will contain an image in your post. We recommend creating your own default featured image for each feed (including your company logo, for example). This way, you won’t end up with a bunch of text posts.
- Auto-publishing: Some of your sources may produce overly technical or irrelevant articles at times. We recommend turning off auto-publishing and manually approving articles for relevance.
- Attach Content: It’s a good idea to link to and credit the original author of the article in the “Attach” section of your feed. In addition to this, you can also link to your relevant service offer on your website and add sales content.
Automating your posts and growing your MSP blog content has never been easier. Now there is no excuse for having outdated outdated content on your site. If you have any questions about setting up your aggregator, or if you have experience with other ways to syndicate content, feel free to post them in the comment below.
.
