There are many reasons why you might want to connect your iPhone to your Mac. You might want to sync content, back up your device, wipe data, or use Continuity features. Whatever the reason, you can easily connect an iPhone to a Mac.
Whether you’re using a physical cable to make the connection or the airwaves to do it wirelessly, each process is simple. Your reason for connecting the two should determine which option you choose. Let’s discuss both.

Connecting iPhone to Mac with a cable
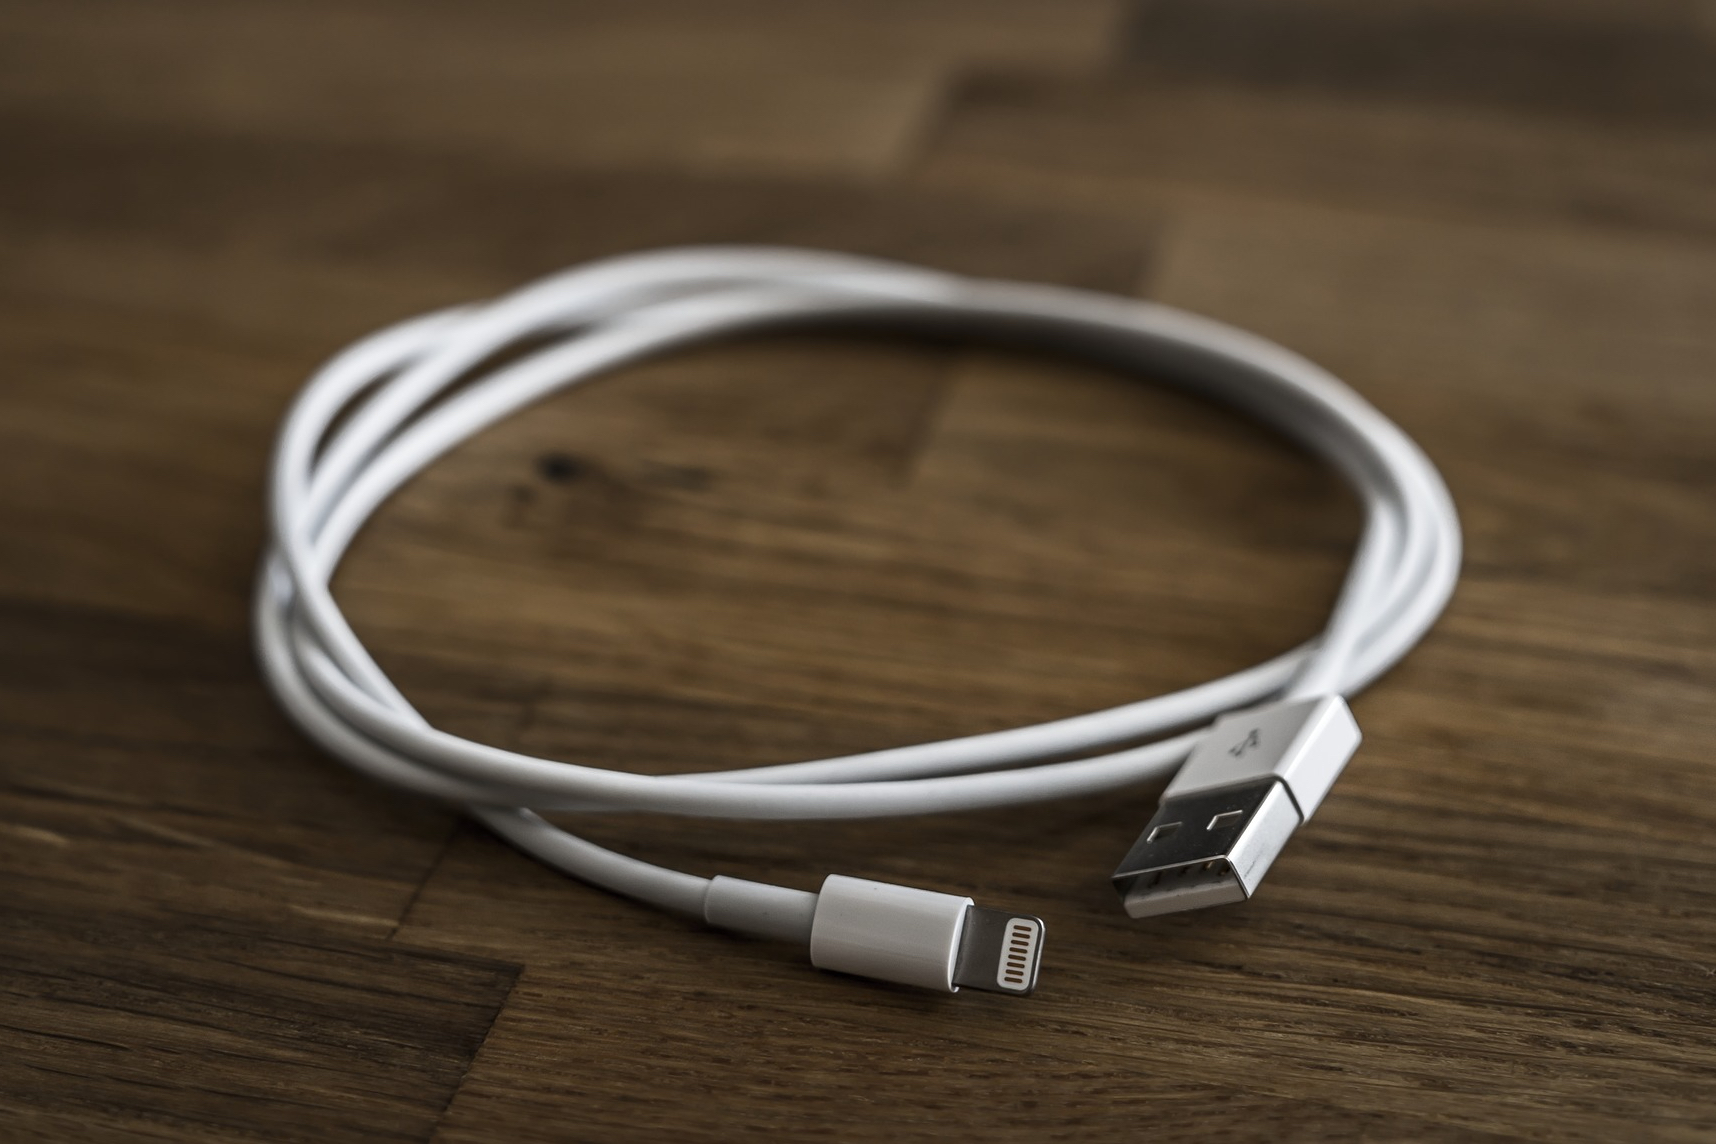
To sync content, remove data and settings, or update your iPhone, you can use a cable to connect it to your Mac. You’ll simply use your iPhone’s charging cable to make the connection. However, depending on the device models you own, you may need an adapter.
If your iPhone uses a Lightning to USB cable and your Mac has a USB port, you can simply plug it in. But if your Mac only has a USB-C cable, say a 2021 MacBook Pro, you’ll need an adapter. On the other hand, if your iPhone uses a USB-C to Lightning cable and your computer only has a USB port, like with the MacBook Air M1, 2020, you’ll also need an adapter.
The bottom line is that , unless you have an iPhone cable and a Mac port with matching connectors, you’ll need an adapter to physically connect it.
If you can make this connection, whether with an adapter or not, you can use Finder on MacOS Catalina or later to work with your data and update your iPhone. You’ll find these steps below.
If you’re running an older version of MacOS, prior to Catalina, you’ll use iTunes to perform these actions.
Step 1: Connect your phone to your computer and open Finder.
Step 2: In the sidebar, select your iPhone under the Locations section.
Step 3: You may be asked to trust the device or update your iPhone to the latest version of iOS if you haven’t already. Simply follow the prompts for these actions.
Step 4: Then, use the various tabs at the top, directly below your iPhone details, to work with the content you need in Finder. .

Step 5: Plugging in your iPhone every time you want to sync data can be exhausting. That’s why Apple has added a method to switch to Wi-Fi sync after your first big setup.
In Finder, check that your iPhone is still selected and that you’re in the General section. Under Options, select Show this iPhone when connected to Wi-Fi. Choose Apply. You can now visit the sync menu in Finder without the need for a wired connection.

Step 6: When you’re done and want to disconnect your iPhone, click the Eject icon on the right in the Finder sidebar. You can then safely disconnect the cable from your iPhone and Mac.

Connect iPhone to Mac via Bluetooth
To establish a wireless connection from your iPhone to your Mac and take advantage of features such as Handoff, AirPlay, AirDrop, Continuity Camera, Instant Hotspot and Universal Clipboard, make sure the following requirements are met.
Step 1: Verify that your iPhone and Mac are connected to the same Wi-Fi network.
Step 2: Connect your iPhone to your Mac via Bluetooth. If you haven’t paired the devices before, select the Bluetooth symbol in the top right menu of MacOS and select Bluetooth Preferences. Keep your iPhone nearby and turned on, and wait for your macOS to detect it so you can pair the devices by choosing Connect. Enter any required authentication.

Step 3: On your iPhone, go to SettingsThen choose the Share to a device like your iPhone option, and you should see all the available options appear. AirDrop will have its radar-like icon next to compatible devices.
Step 5: To use the Continuity features, open a compatible app and Control-click the where you want to place the content. This will open an insert menu: select the option that says Import from iPhone or iPad.
You will now see several options available depending on which devices are connected. Take Photo will *open the camera on your iPhone so you can take a photo that will then be pushed to your Mac. *Scan Document will do something very similar, but save it as a PDF.

What What about using Sidecar with my iPhone?
Sidecar is only designed for iPads, and cannot be used with iPhones at this time. Sidecar is meant to provide a second screen for your Mac work, and iPhones aren’t big enough to be very useful here. Similarly, Universal Control is designed to work with iPads or MacBooks.
Whether you need to connect a physical cable to work with data in Finder or want to go wireless to use Continuity features, it’s easy to connect your iPhone to your Mac. If you’re thinking about getting a new iPhone, check out our guide on which iPhone 14 to get too.
Editors’ Recommendations
- How to take a screenshot on a Chromebook
- The most common Slack problems and how to fix them
- The most common Zoom problems and how to fix them
- The best tablets on 2023 : Top 9 Must-Buy Picks
- Microsoft’s Bing Chat: How to Join the Waitlist Now
.
